| 1.12 |
| 1.12 |
Integration with Eclipse simplifies the compilation, remote execution and remote debugging of EGT applications using Buildroot.
The typical usage model of our EGT integration with Eclipse would be:
This tutorial will guide you through the installation and usage of Eclipse for developing an EGT application using Buildroot.
At the current time, the latest stable version of Eclipse is called 2019-06. Most Linux distributions come either with an Eclipse package or allow it to be easily installed by the package manager in the distribution. However, note that this is frequently an out of date version. You can download the latest version from the central download site at http://www.eclipse.org. As an IDE, Eclipse supports many different programming languages including Java, C, C++, Python, and many others. At installation time, you need to select the version to support the package(s) that you want. To make this easier, there is an installation tool which will guide you through the steps.
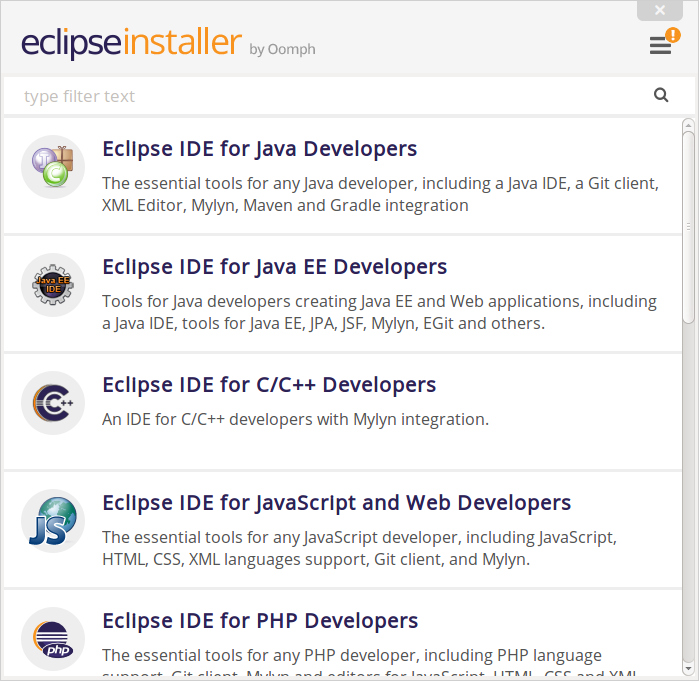
Download Eclipse IDE for C/C++ Developers and follow the steps below for installation.
Extract the eclipse-cpp-2019-06-R-linux-gtk-x86_64.tar.gz to folder /opt
Create a desktop file and install it:
copy the below lines to the eclipse.desktop file
Set an executable permission and execute the following command to install it:
Create a symlink in /usr/local/bin
For an eclipse icon to be displayed in dash, the eclipse icon can be added as:
Eclipse needs to have either OpenJDK or Sun Java installed to be able to run eclipse. Here is a simple example of installing Open JDK 1.8:
With Eclipse installed in the /opt folder, it can now be accessed by any users.
Start Eclipse from the Ubuntu Applications tray and you will be asked where to place your workspace directory. By default, the location will be under the users home directory, i.e. /home/<user>/eclipse-workspace.
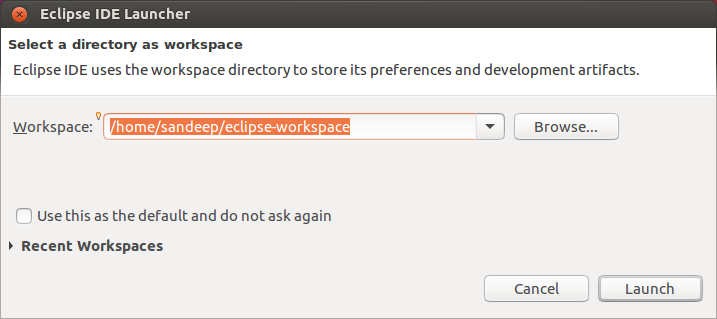
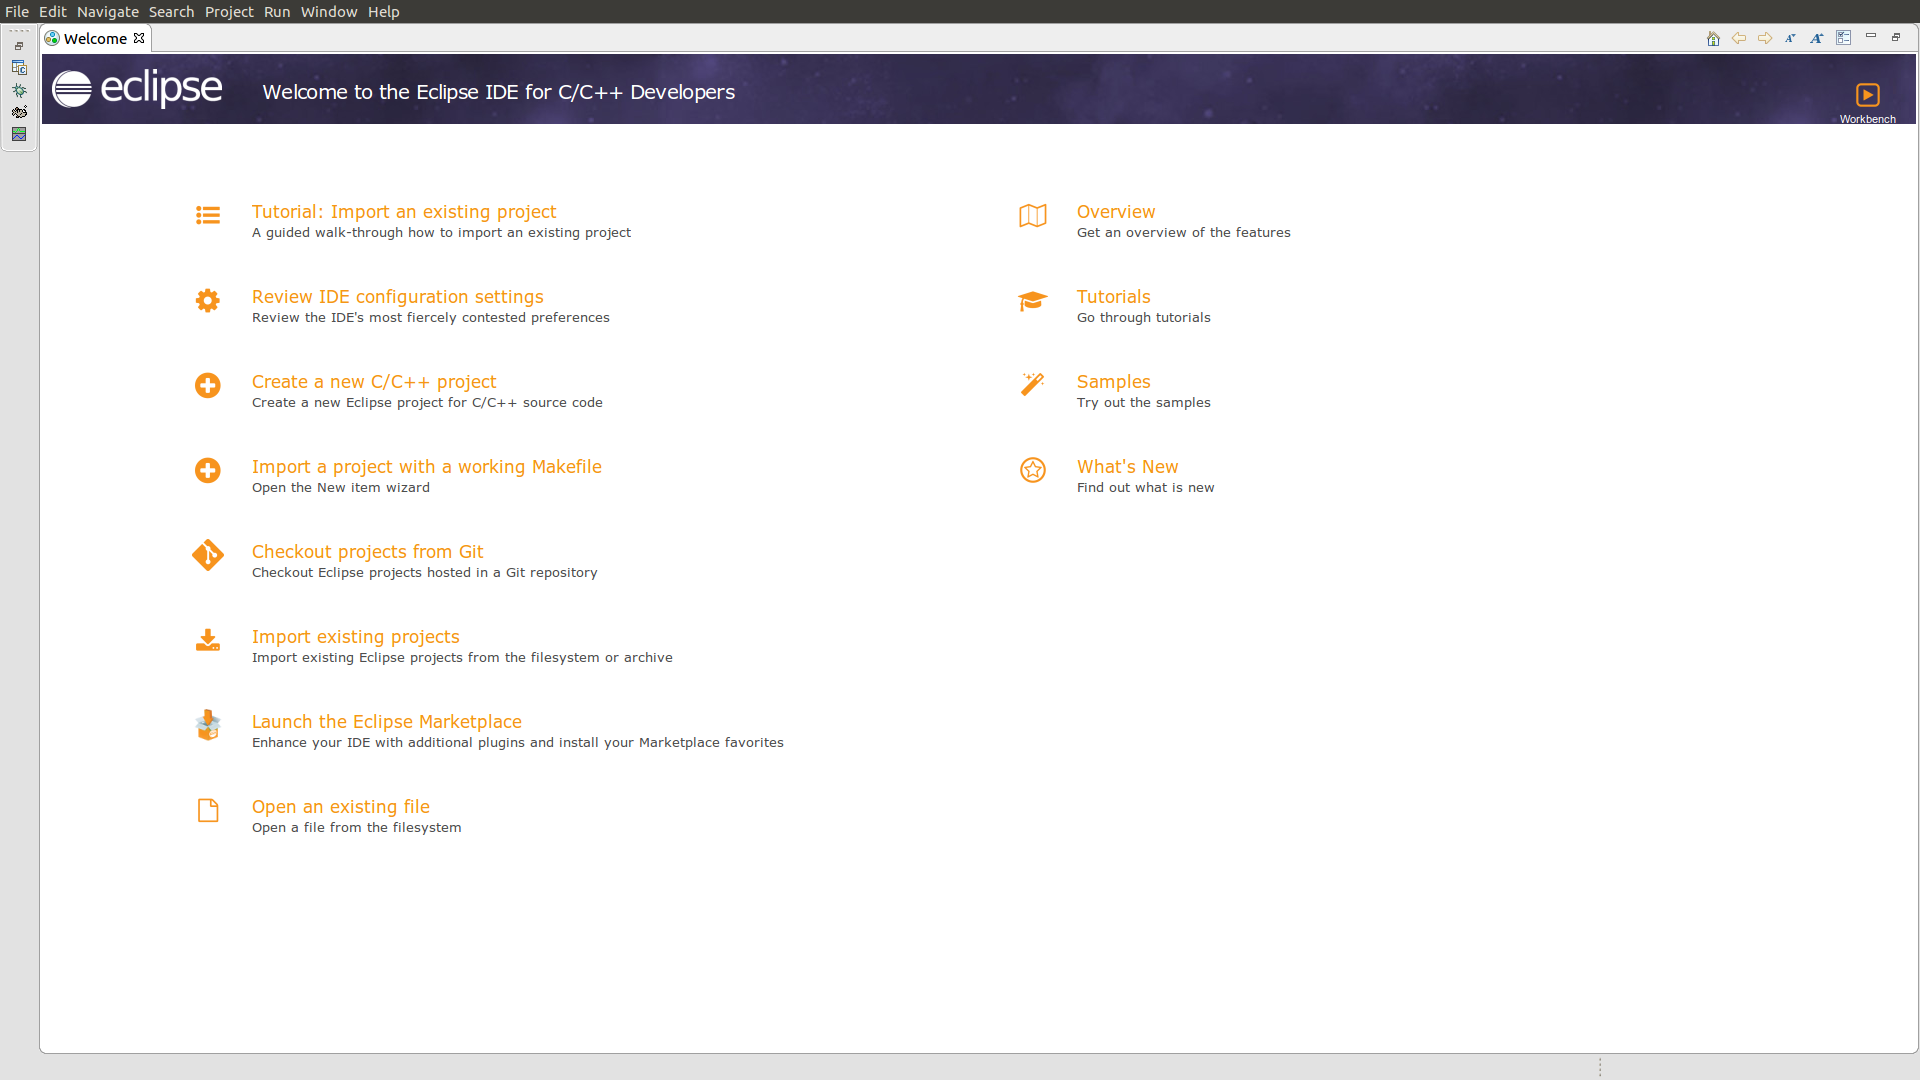
With the workspace set, click launch and Eclipse will start with a startup screen.
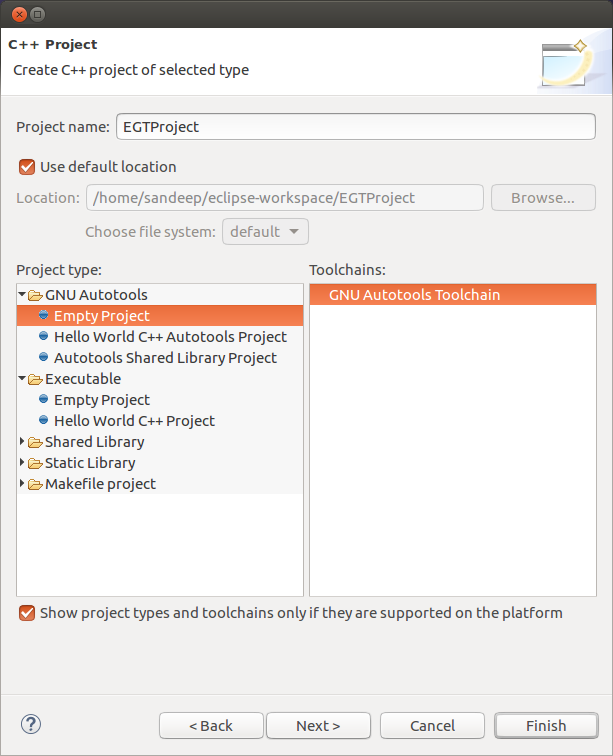
Now we can create a new EGT project that will use a toolchain generated by Buildroot. In the example below, we created an EGT project using autotool and it is up to the developer to write the configure.ac file and Makefile.am. This allows the project to be built outside Eclipse and to use standard Unix tools as your project build system. For more information on autotools, refer to GNU Autotools
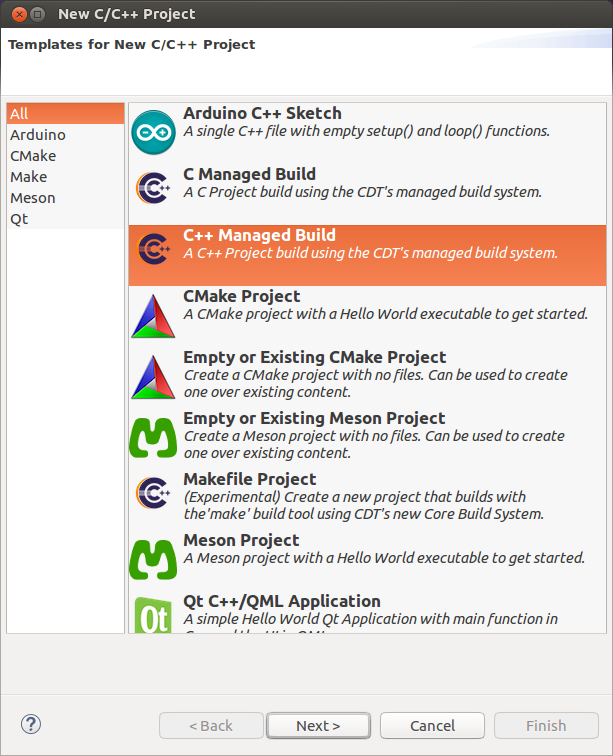
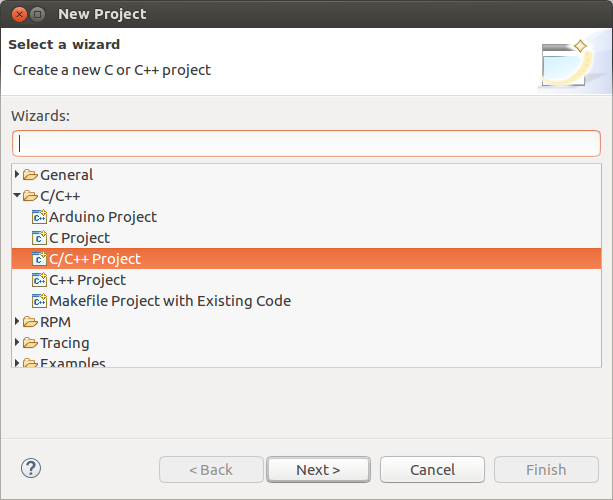
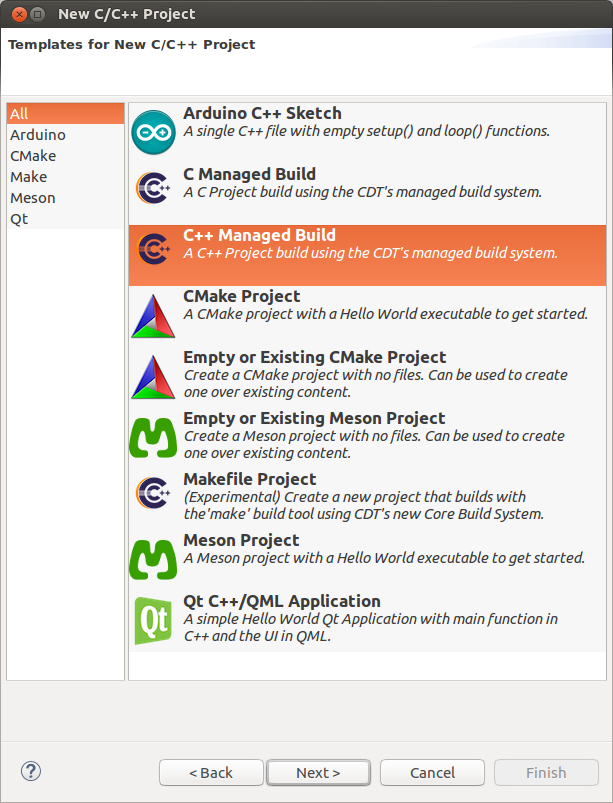
Click on "Create a new C/C++ Project" and Select "C++ Managed Build" in the New C/C++ Project window and then click Next.
In the Create C/C++ Project window:
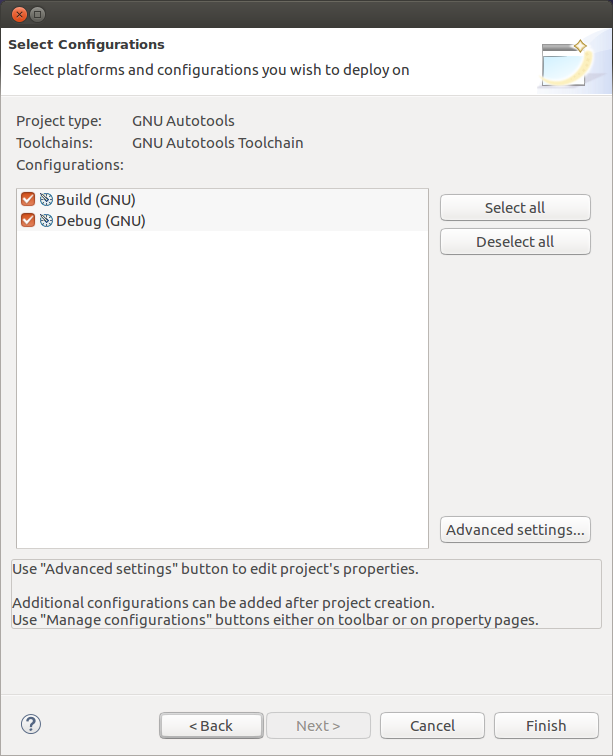
To cross-compile this Project using the Buildroot toolchain, we need to set a few environment variables and this can be done clicking "Advance Setting" in the Select Configurations window.
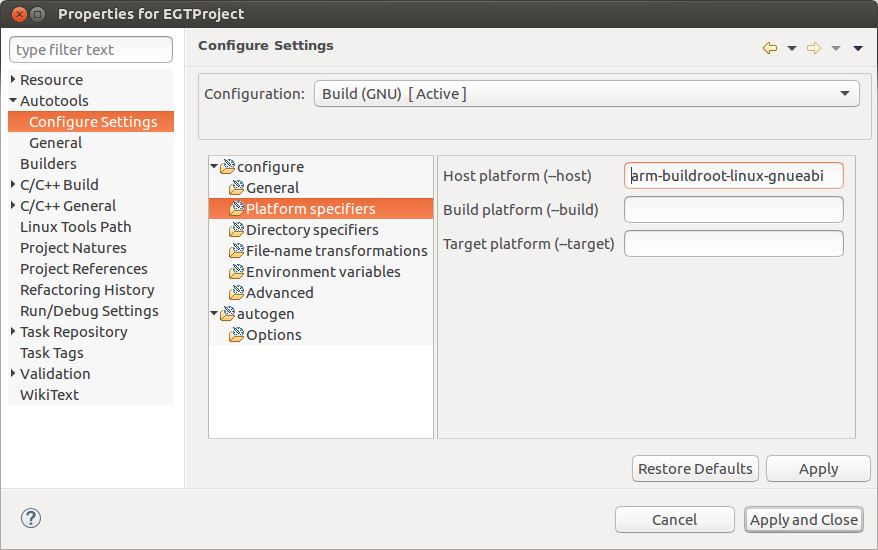
In the Properties window, expand Autotools and select Configure Settings. Under Configure Settings, select platform specifiers and set "Host platform (--host)" to "arm-buildroot-linux-gnueabi".
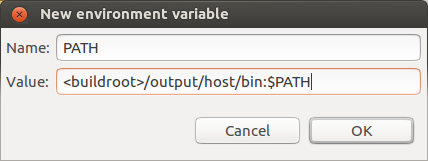
Now select Environment Variables and click New. Under the New Environment Variable window, set the Buildroot toolchain path and Click OK.
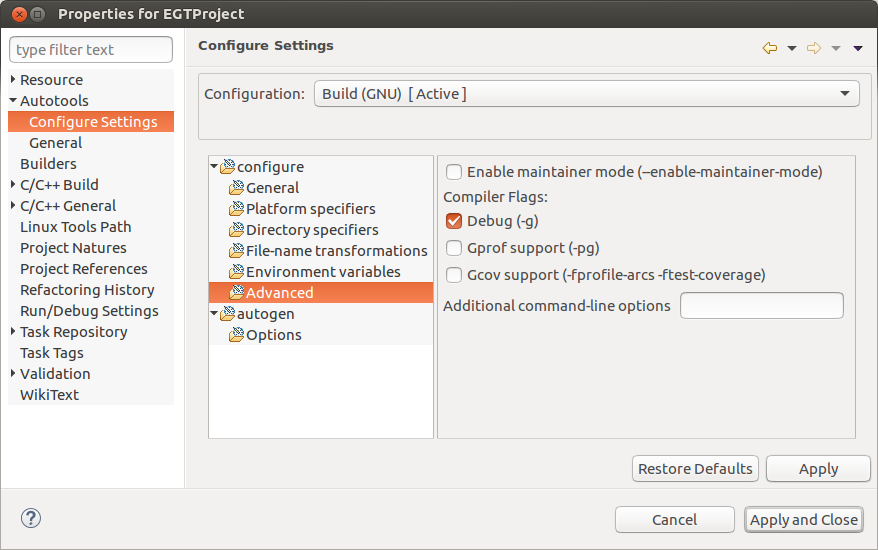
To enable debug options, select Advance and check the Debug(-g) option and then click Apply.
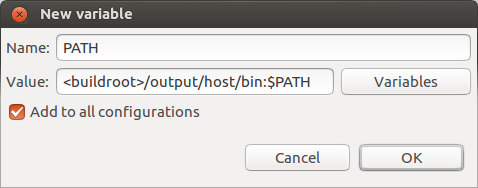
Now expand the C/C++ Build. Select Environment and click Add. In the New Variable window, set the Buildroot toolchain path using the below details. Click OK and "Apply and Close" and then click Finish.
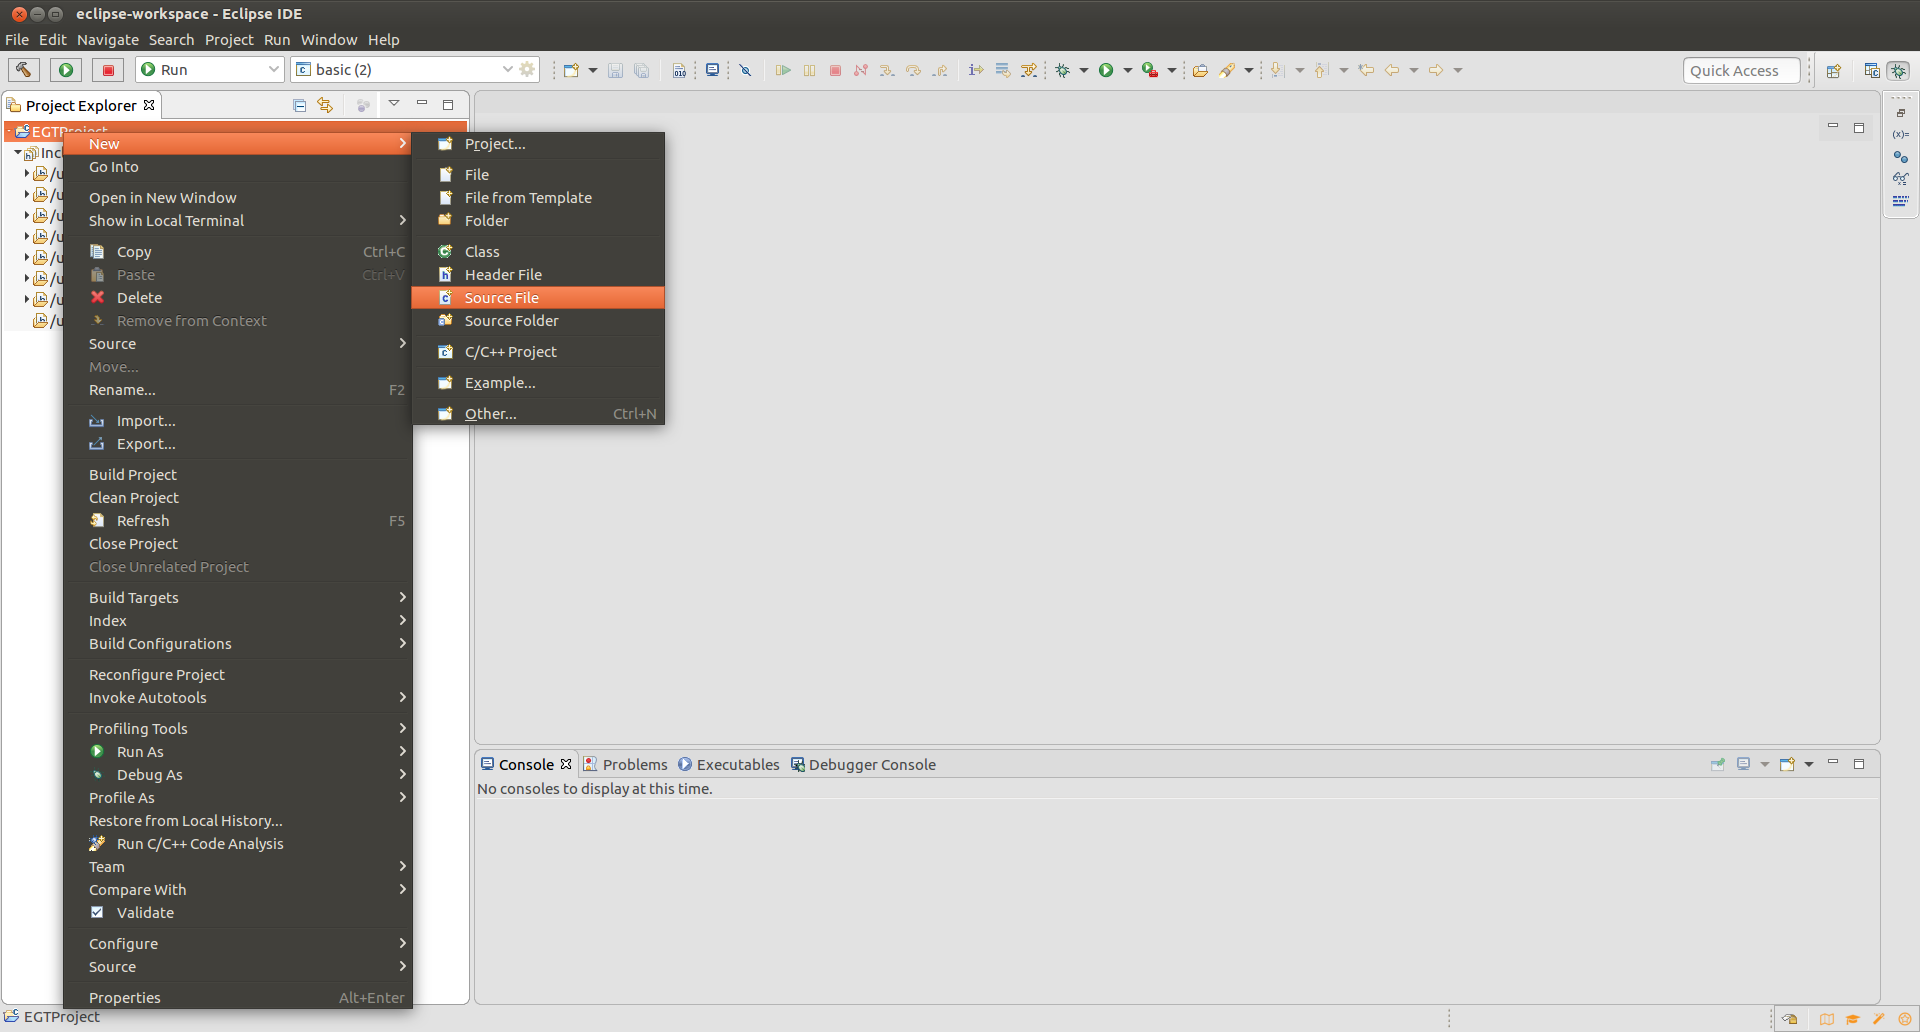
Create source files in the Project by right Clicking on the Project name and select New -> Source File.
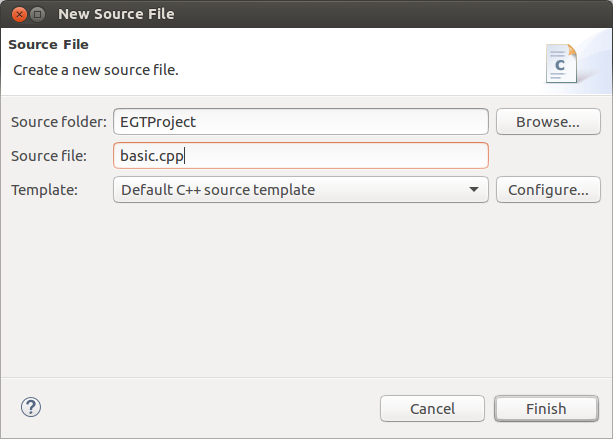
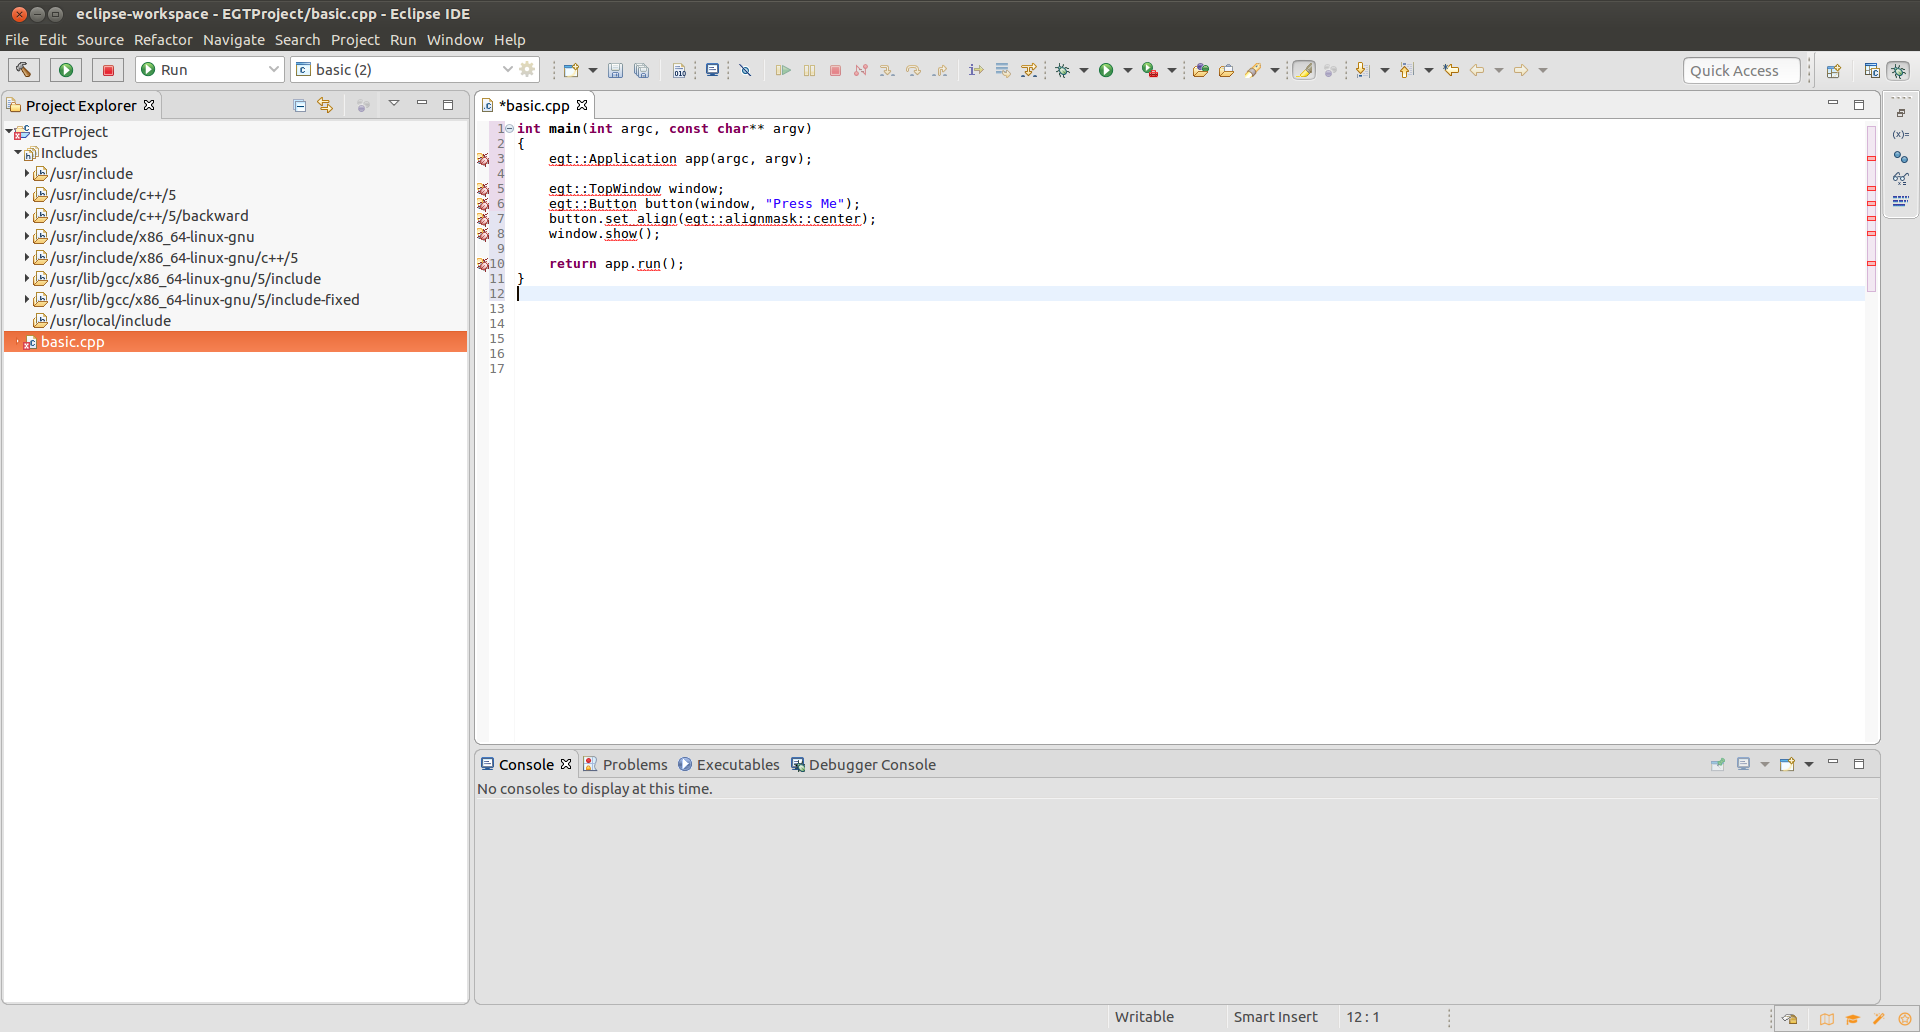
In the New Source File window, set the File name basic.cpp and click Finish
Copy the lines below to basic.cpp file:
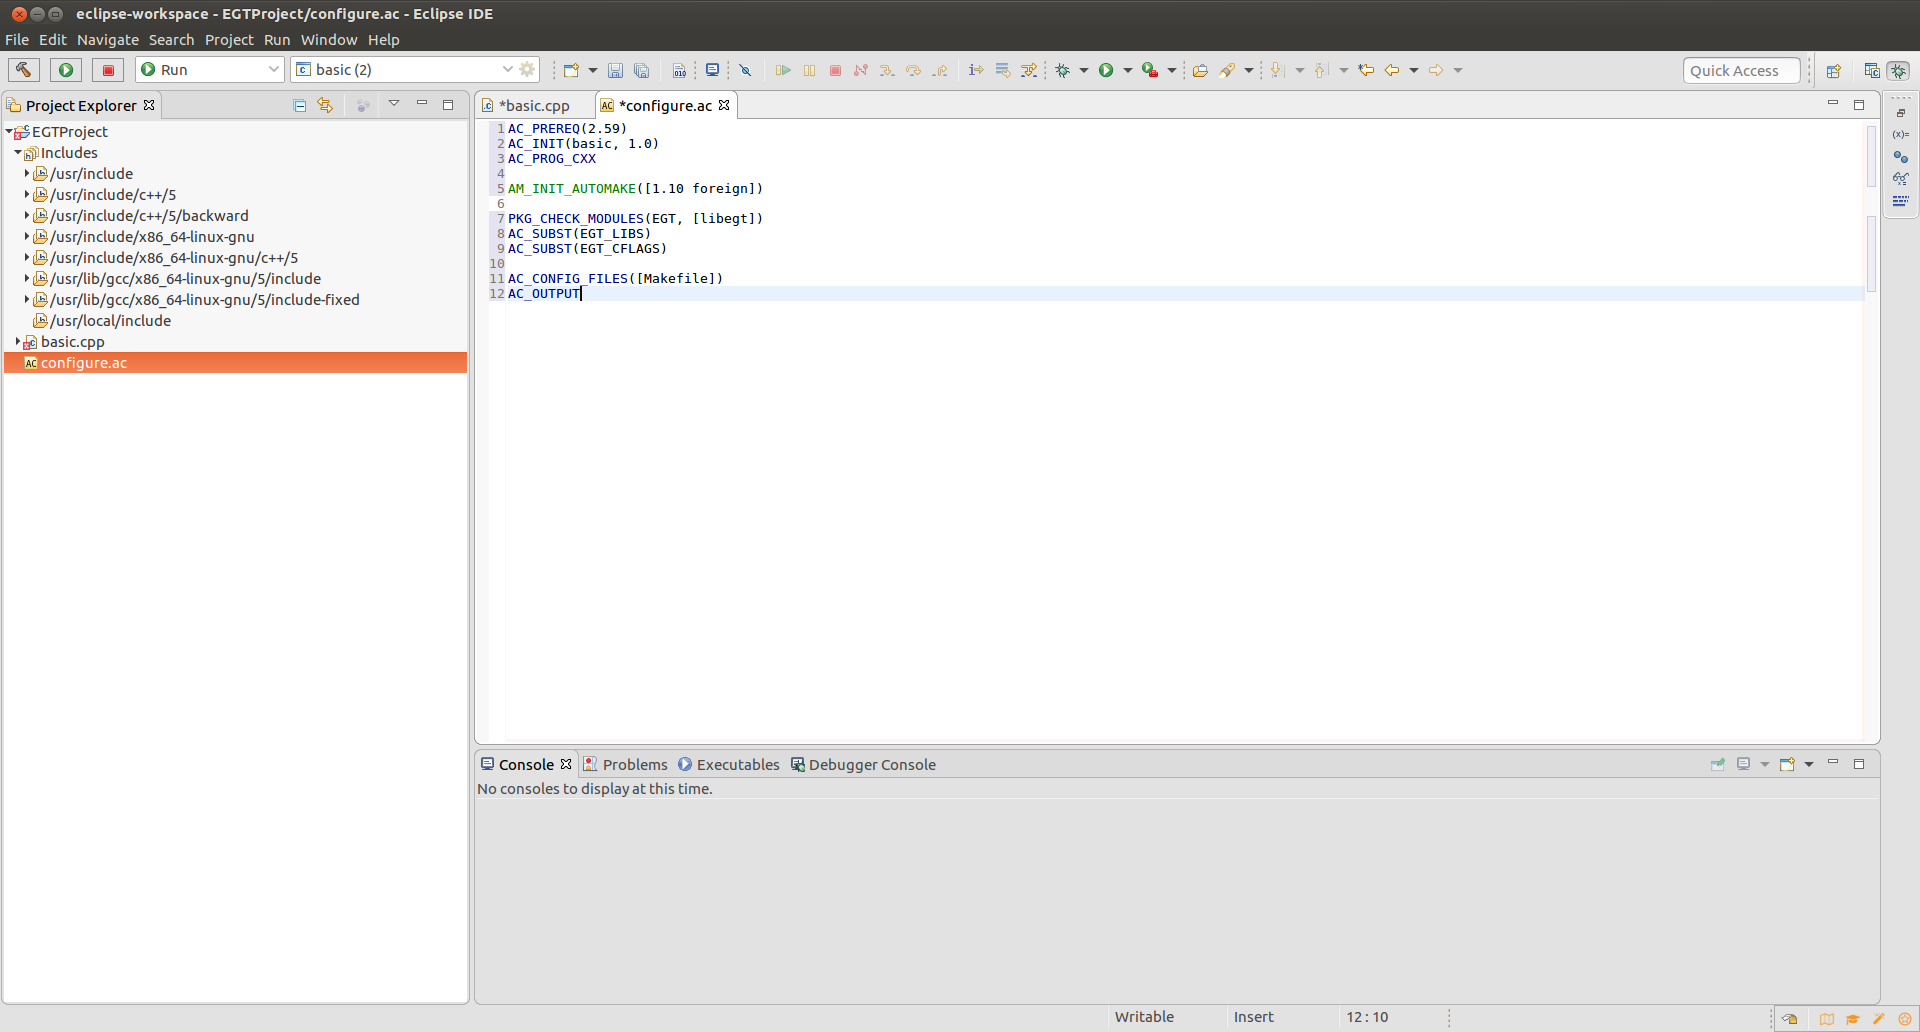
Similarly, create a new configure.ac file and copy the below lines:
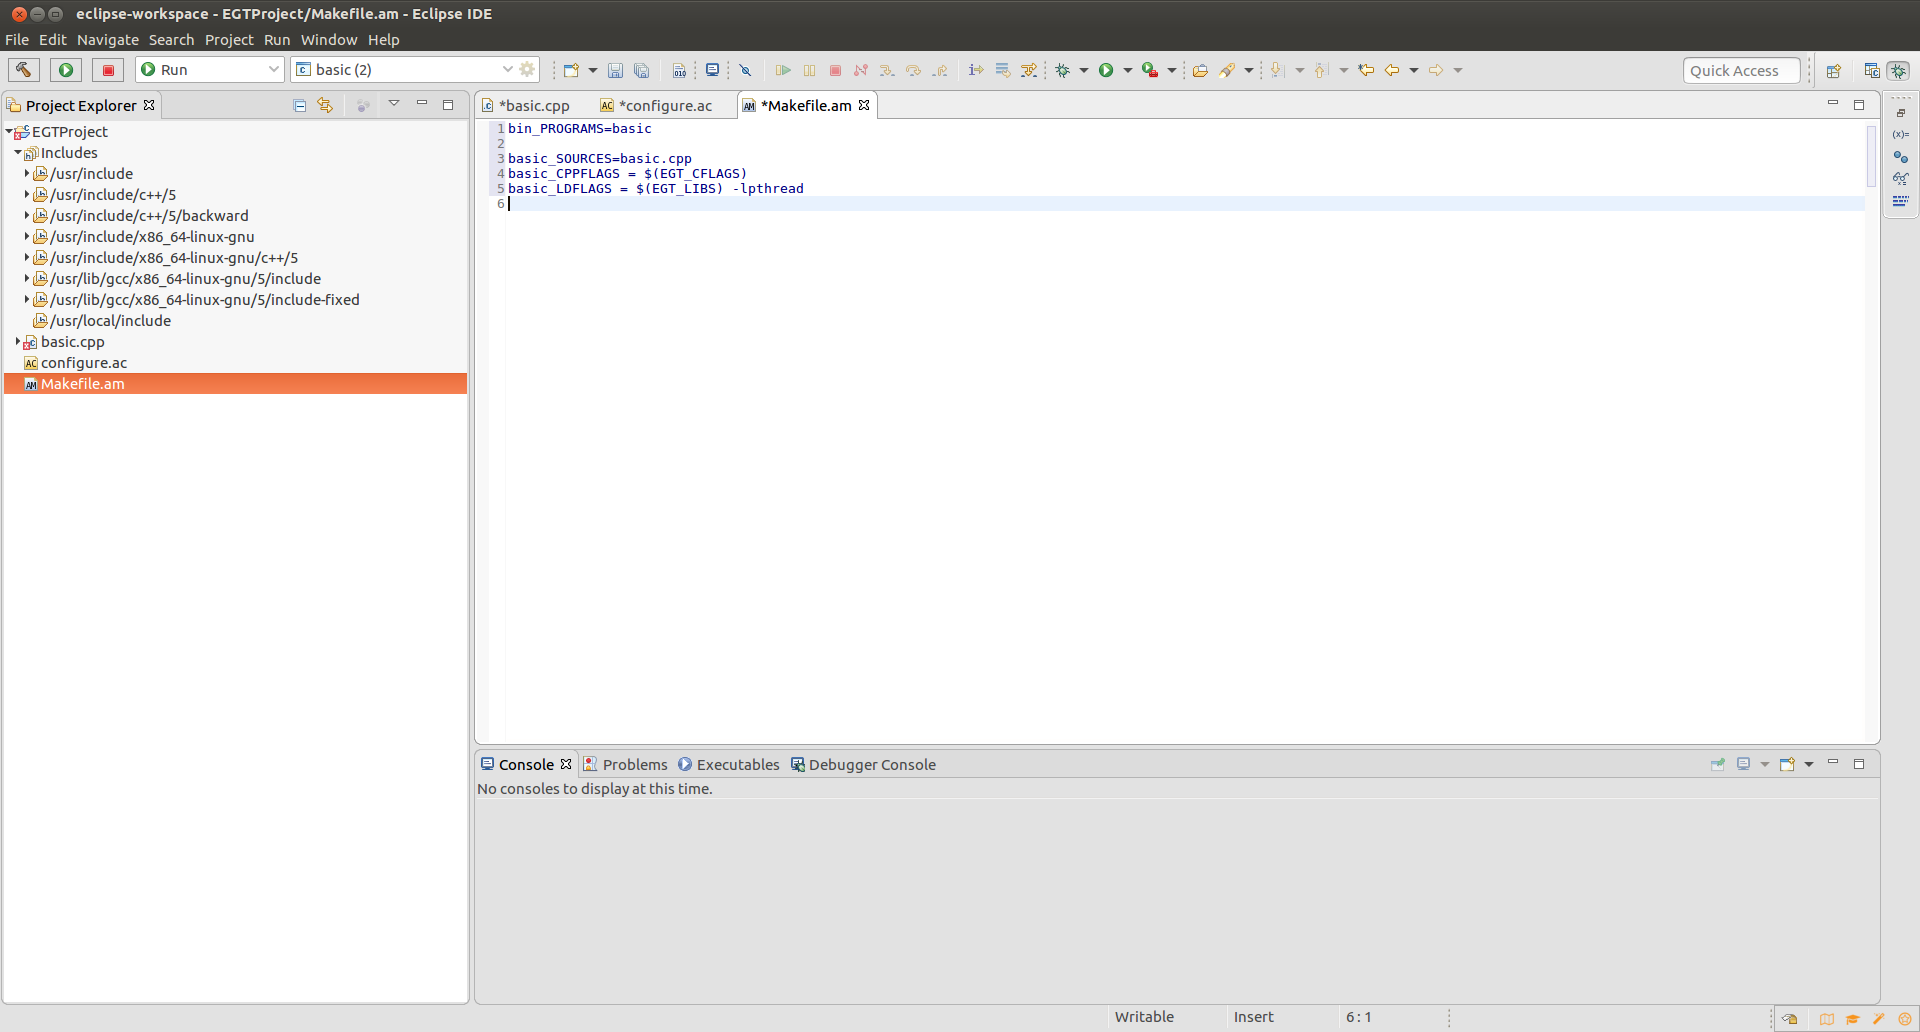
Now create a new Makefile.am file and copy the below lines:
Save all using file->saveall or press (shift + Ctrl + S).
To Build this Project, first invoke the Autoreconf tool by right clicking on the project and selecting Invoke Autotools->Invoke Autoreconf. This operation will call the autotools to generate the configure script and Makefile.in files. This operation has to be done again if you make changes to configure.ac or Makefile.am.
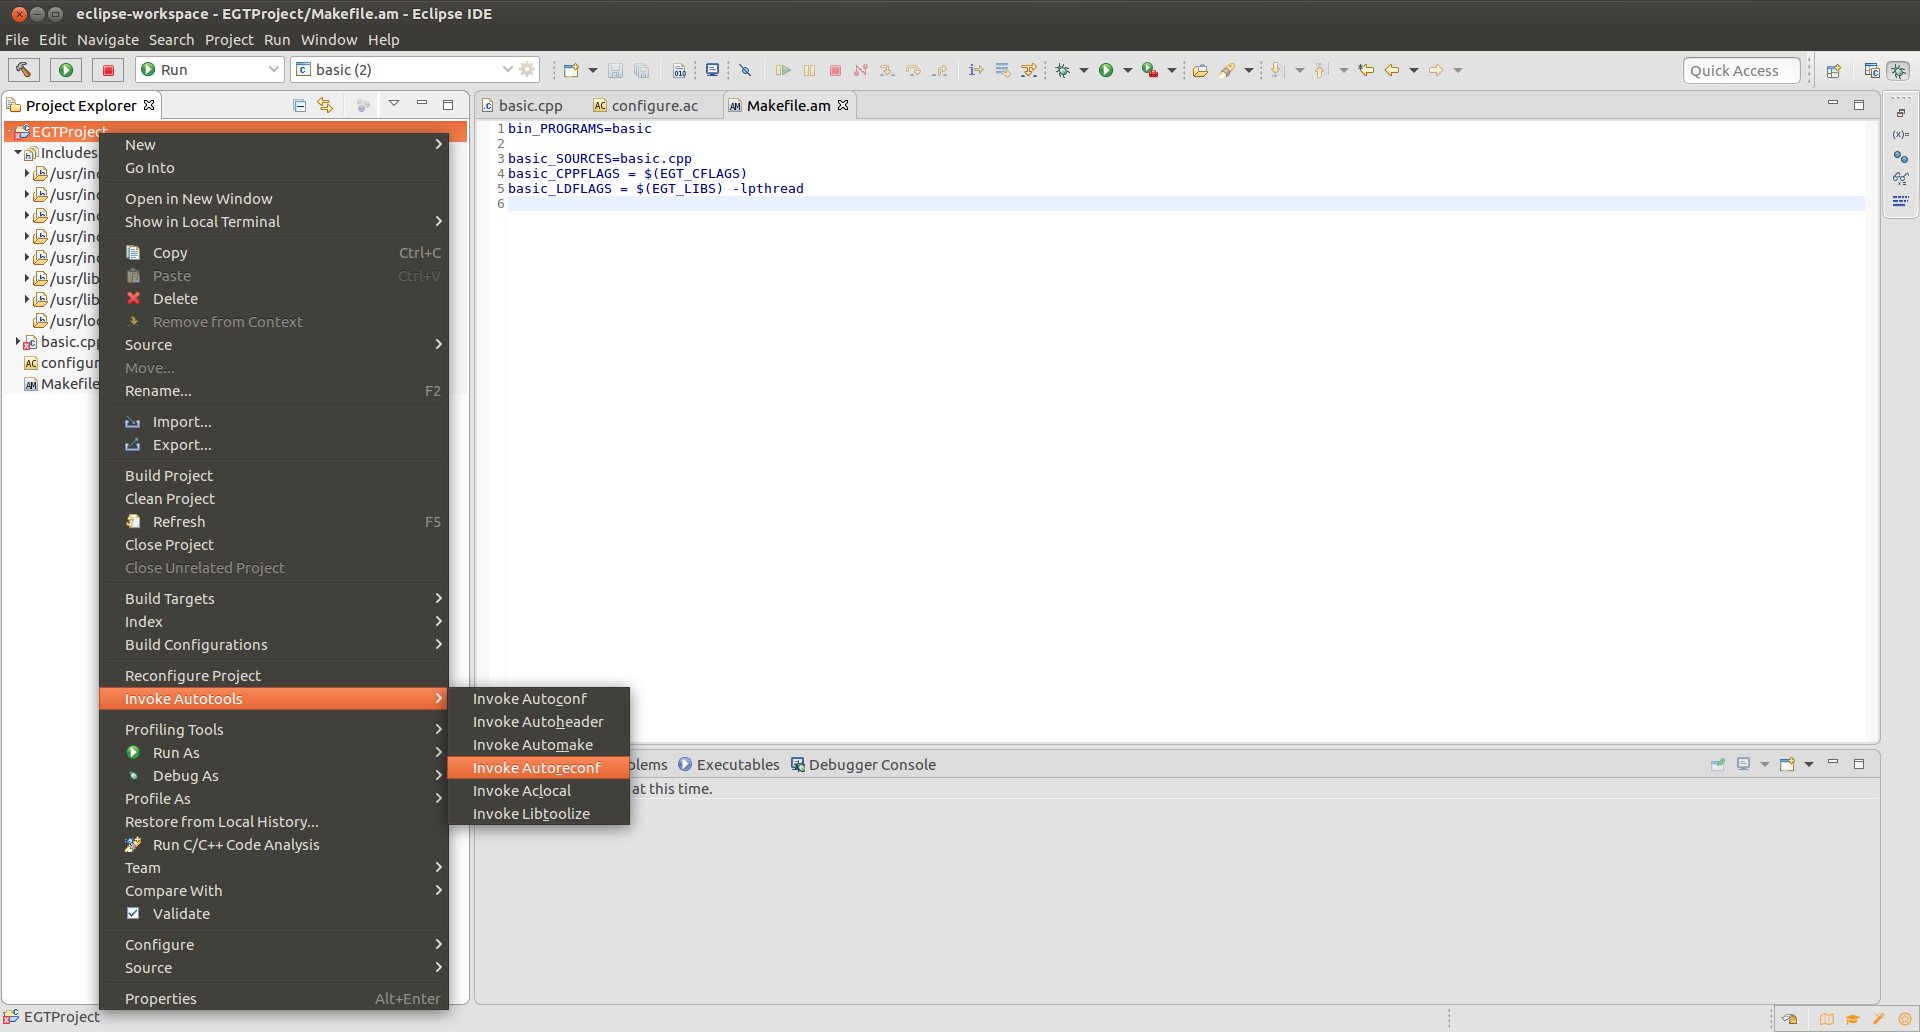
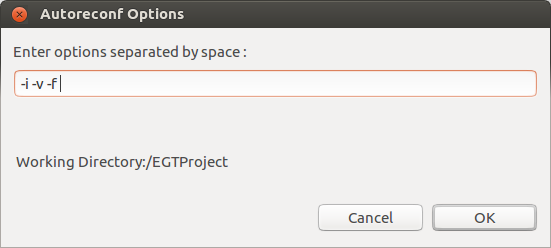
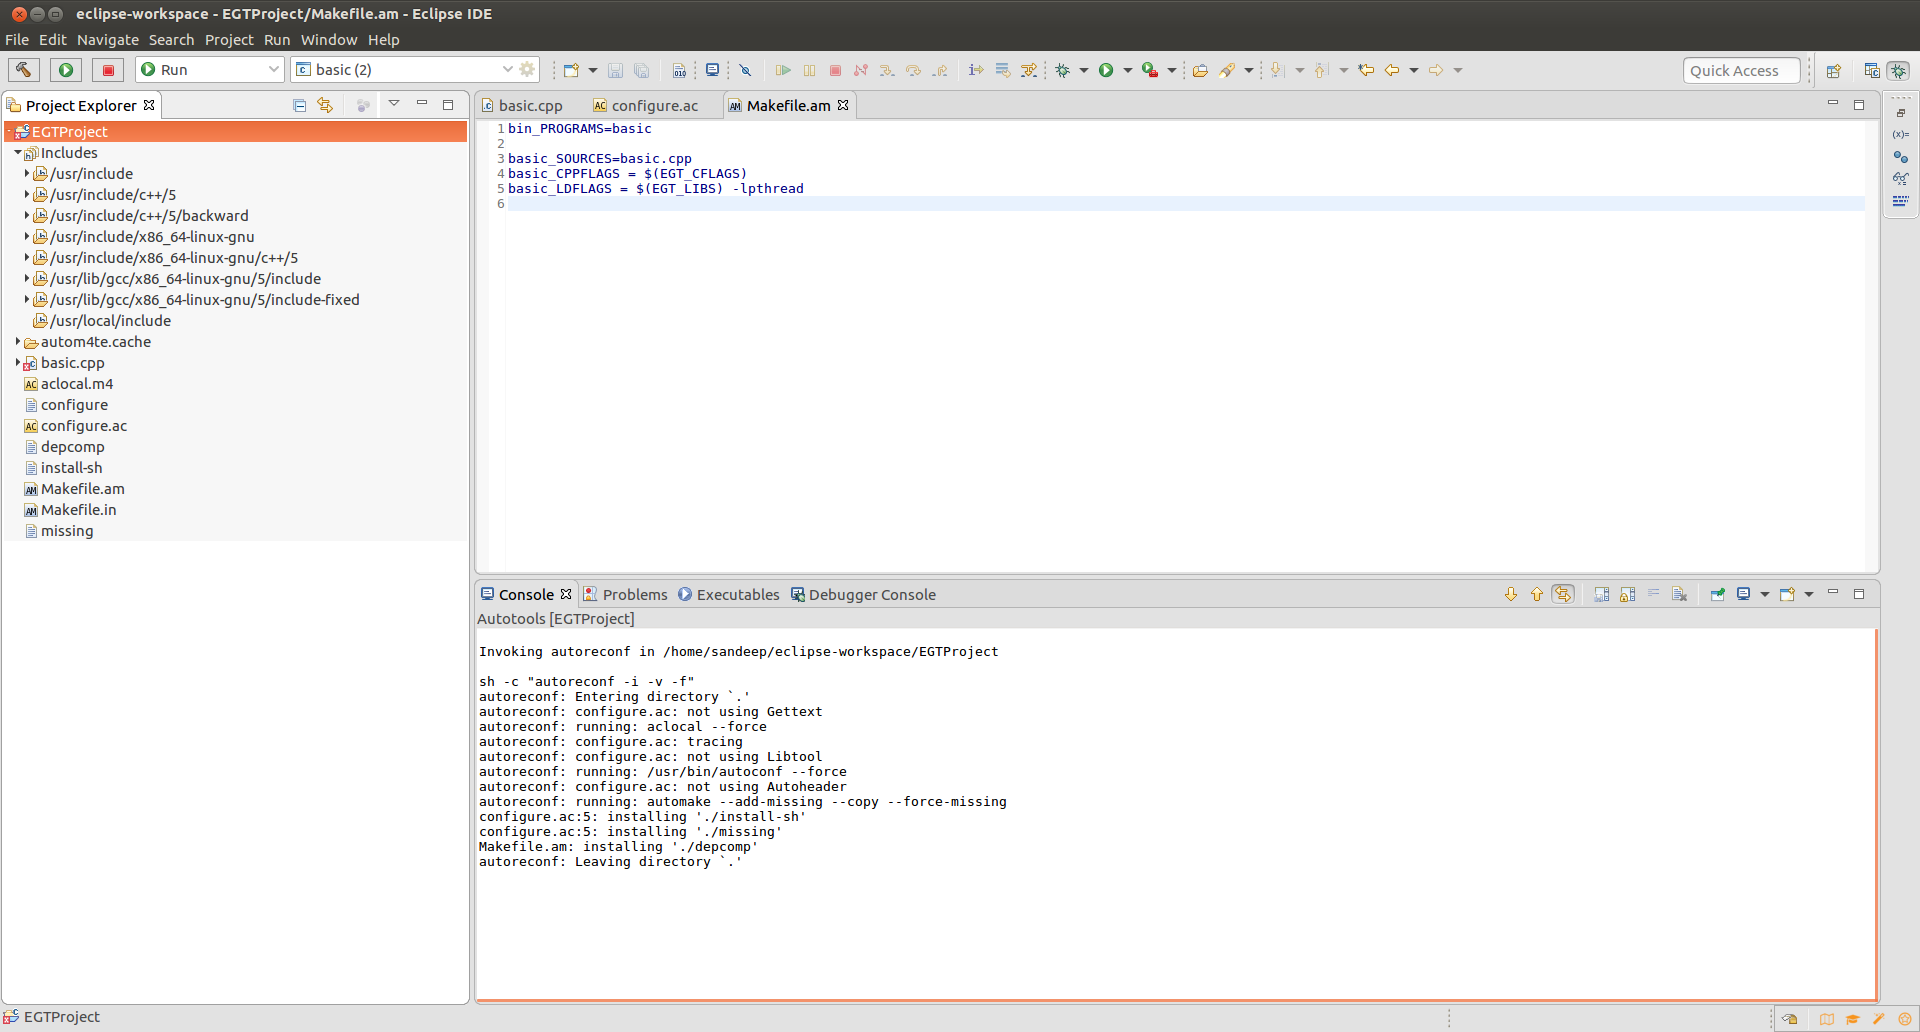
Set the "-i -v -f" option to the autoreconf window and click OK. This tells autoreconf to automatically install additional scripts and files that are needed for correct operation of the configure script.
Now we can see in the console that the autoreconf command finished successfully and the configure and Makefile.in files have generated in the project folder.
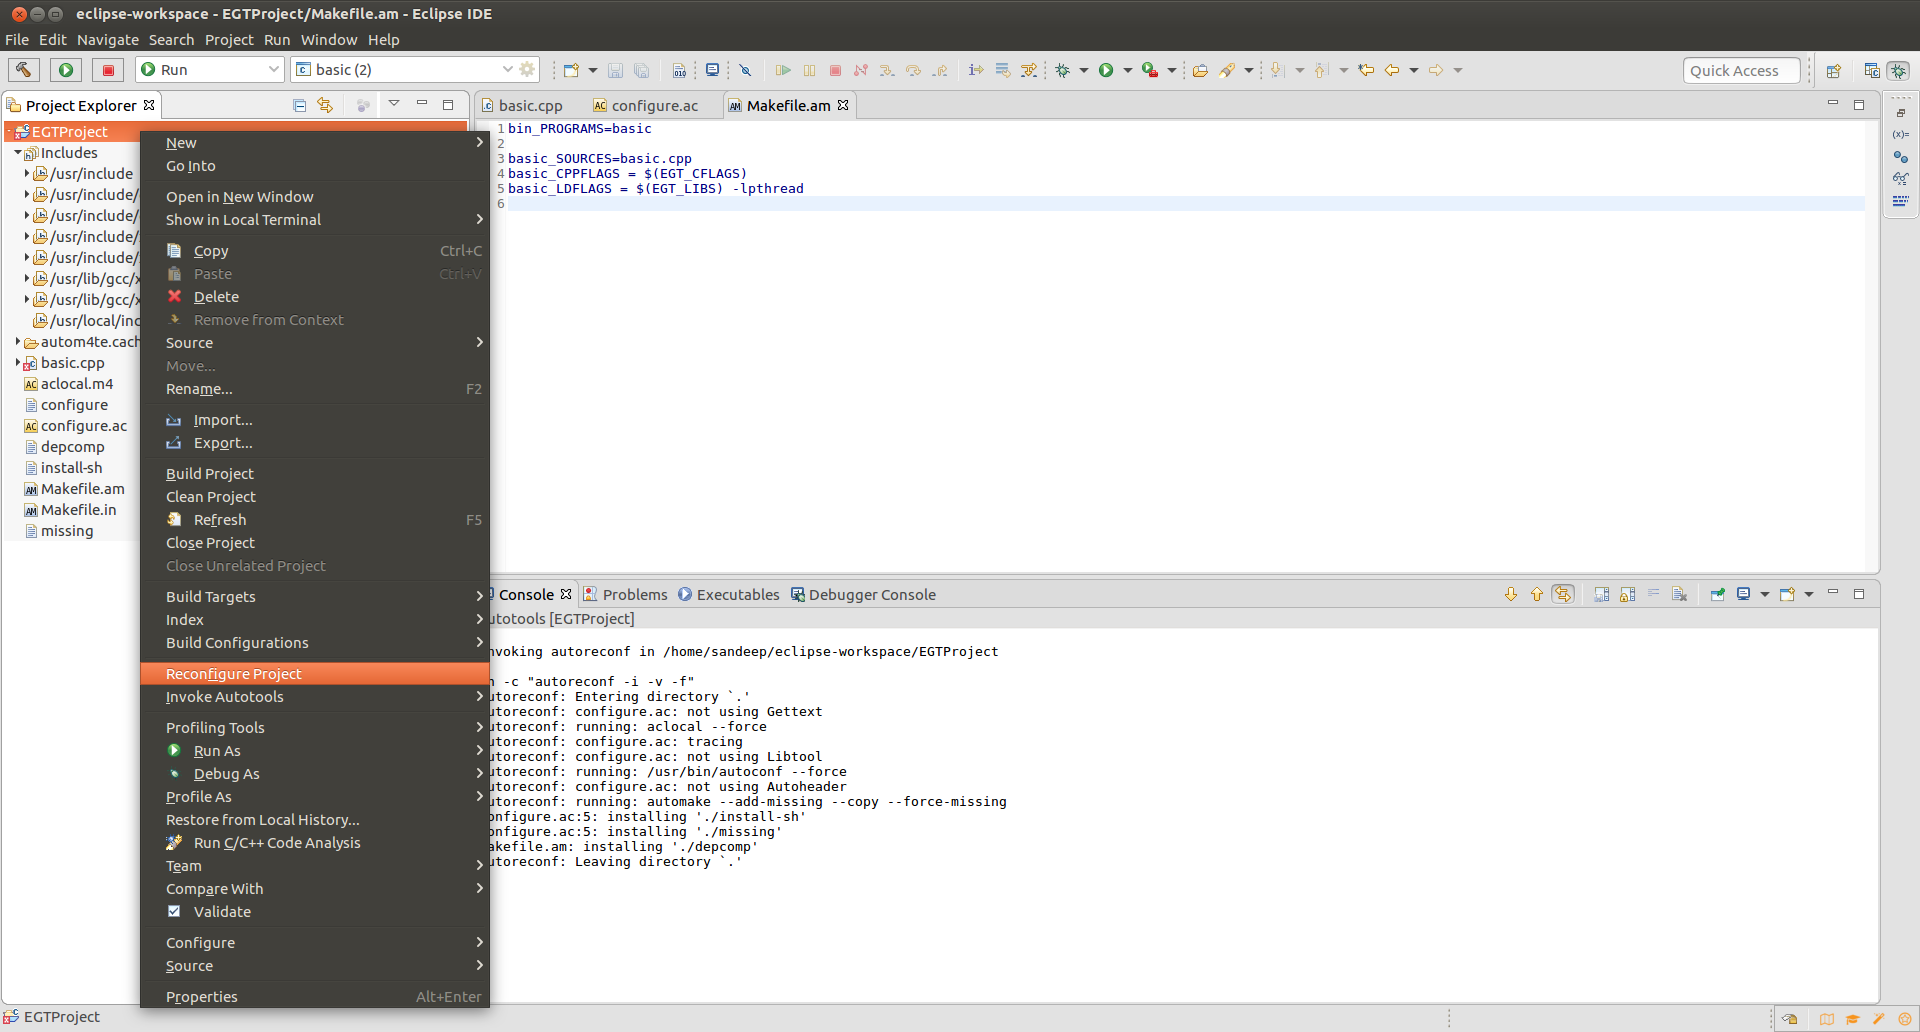
Now reconfigure the project by right clicking on the project and selecting Reconfigure Project. This will call the configure script with the argument –host option and set Environment variable values to ensure that your project will be cross-compiled with the Buildroot toolchain. You may define additional options in the project properties.
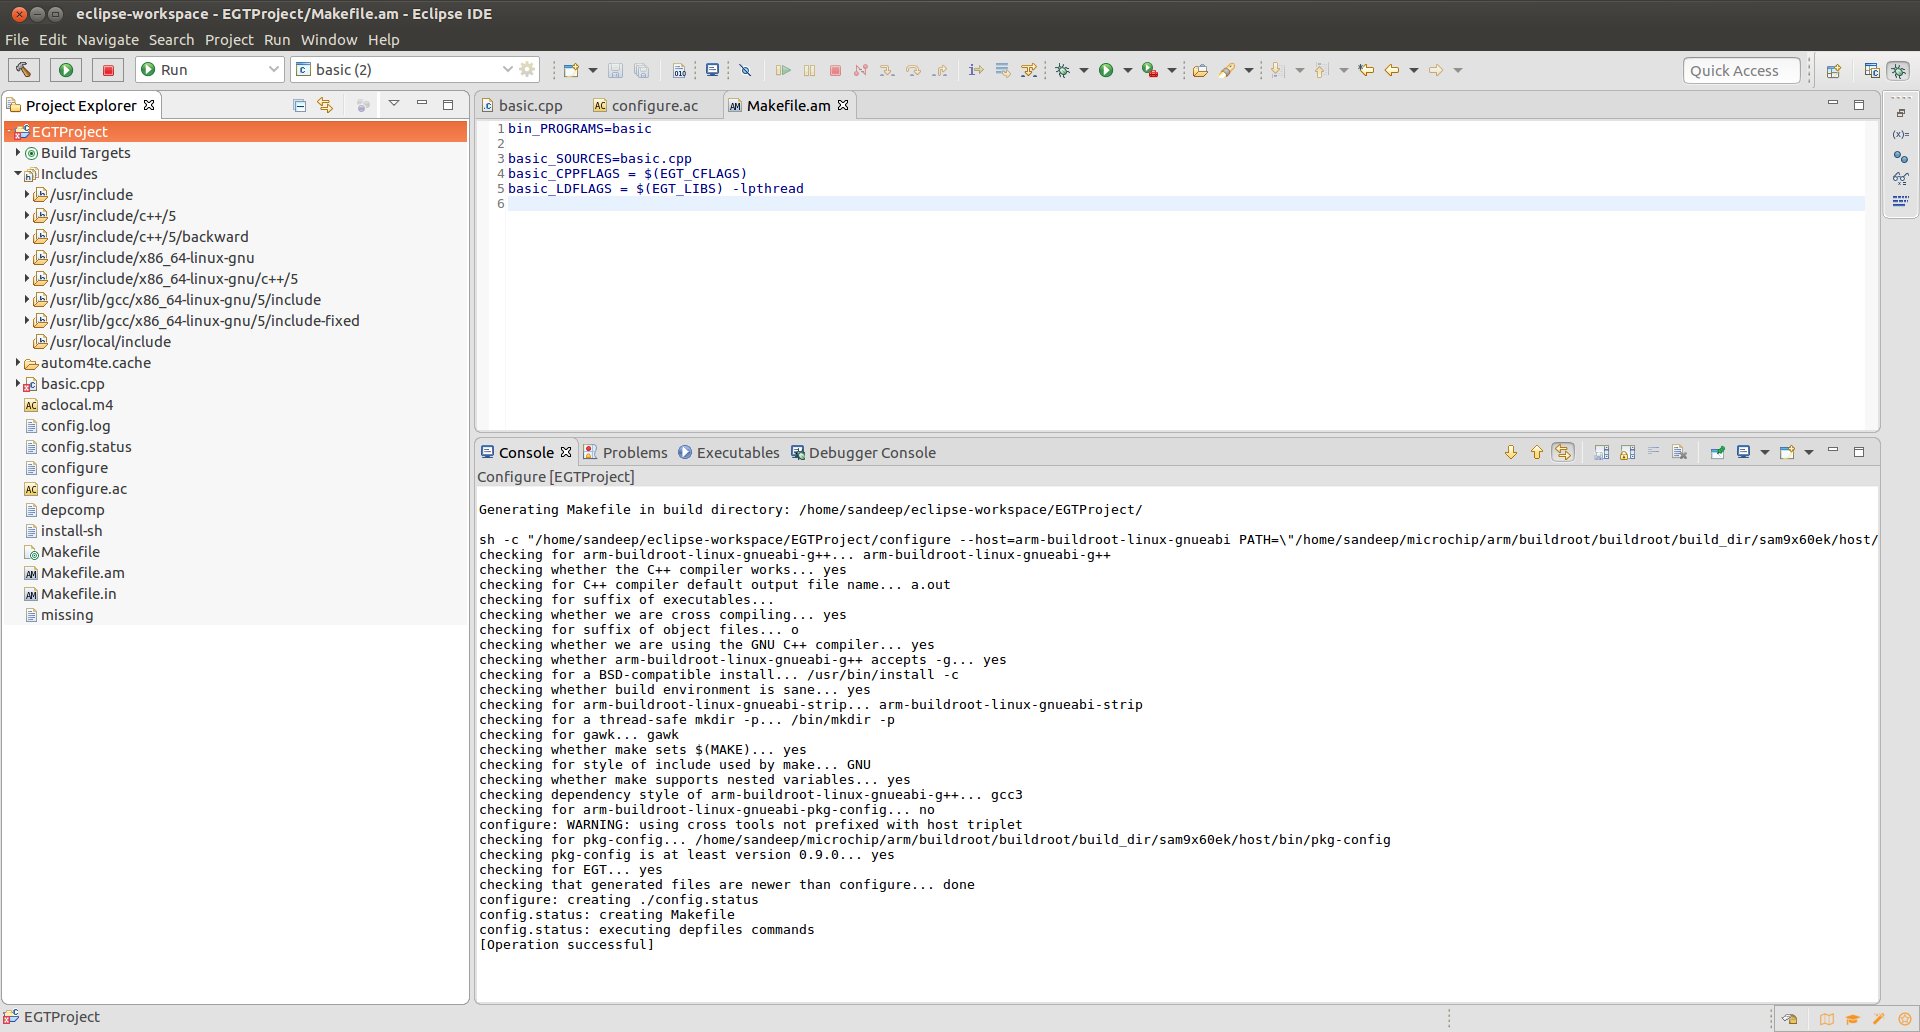
In the console, we can see that the operation finished successfully and Makefile generated in the Project folder.
Finally, to build this project, select Project-> "Build All" or Press (Ctrl-b).
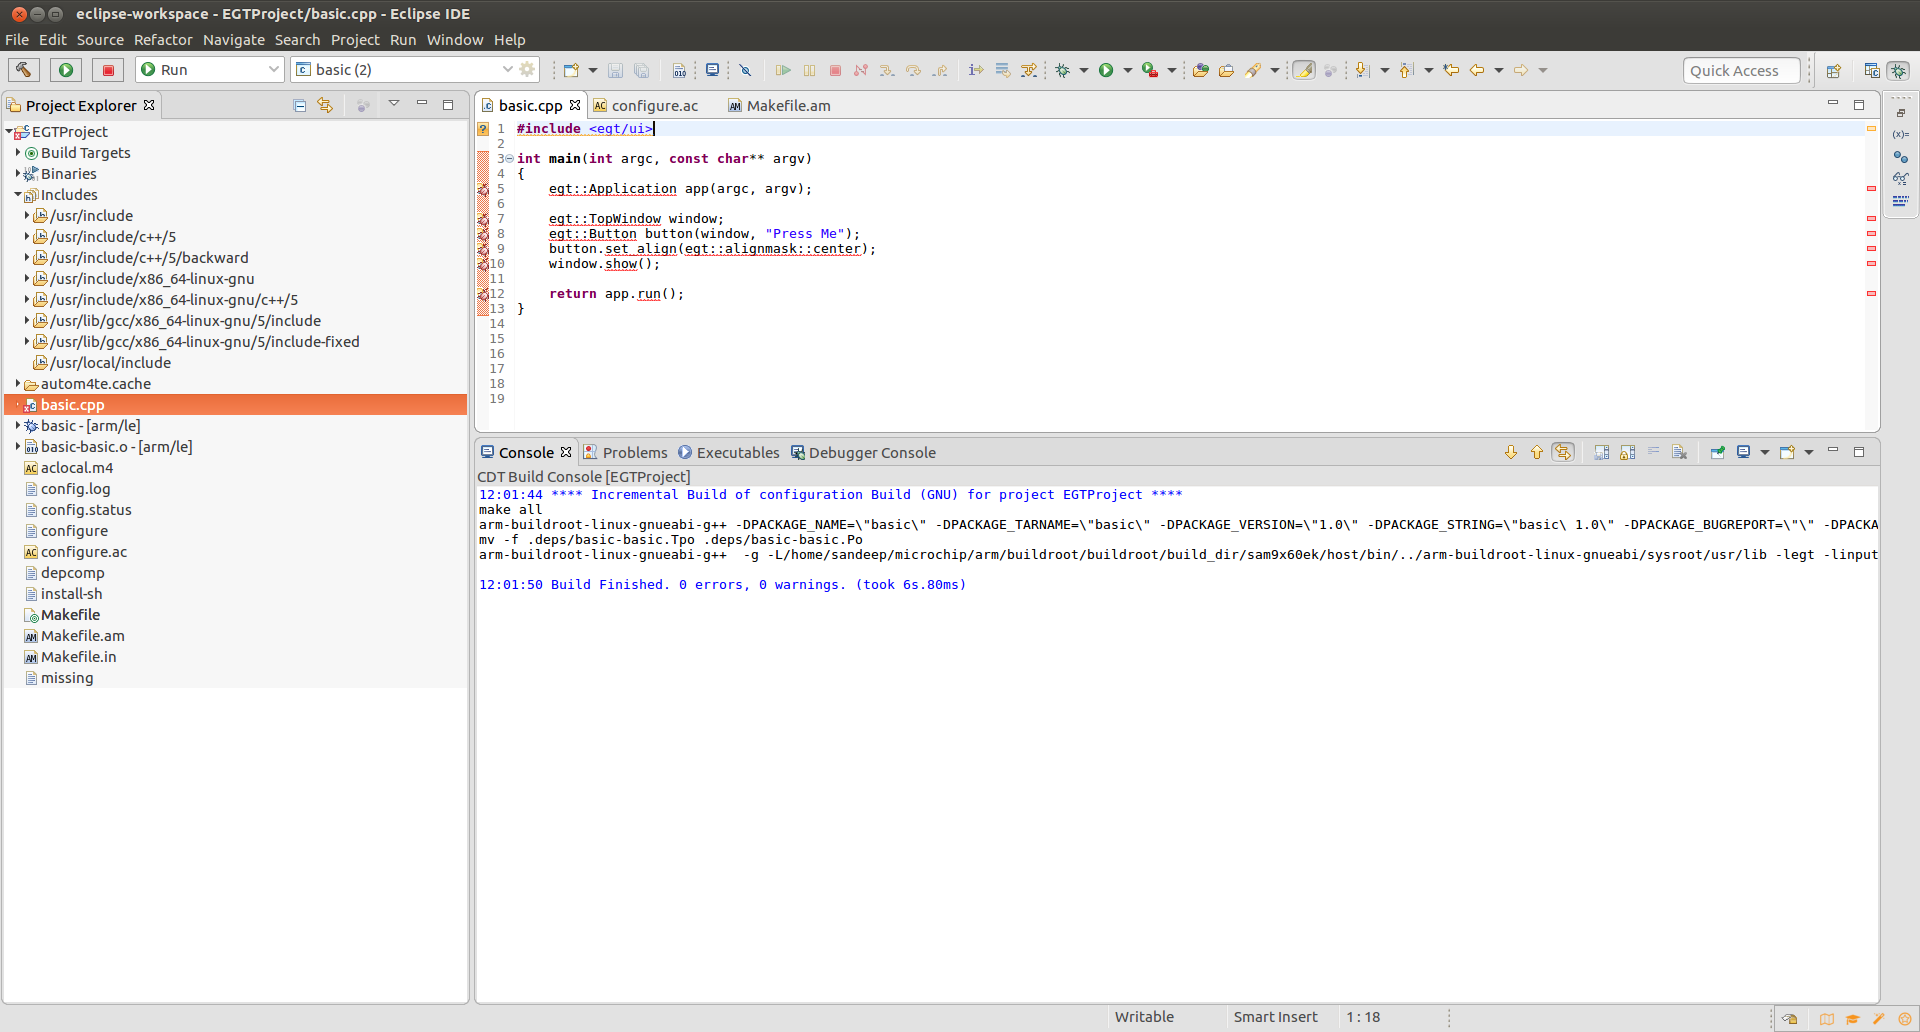
Eclipse will execute an EGT application on a target board by transfering the application binary using SSH. SSH server must have been installed on the target board.
Buildroot offers you two choices:
Most SSH servers do not allow log in as root with an empty password. To set the root password, log in on the target board and type the below commands:
Type the below commands to configure the Ethernet interface and to make sure the host machine and target board are connected.
The first step is to create a new run configuration. Right click your EGT project and click on Run As->Run Configurations...
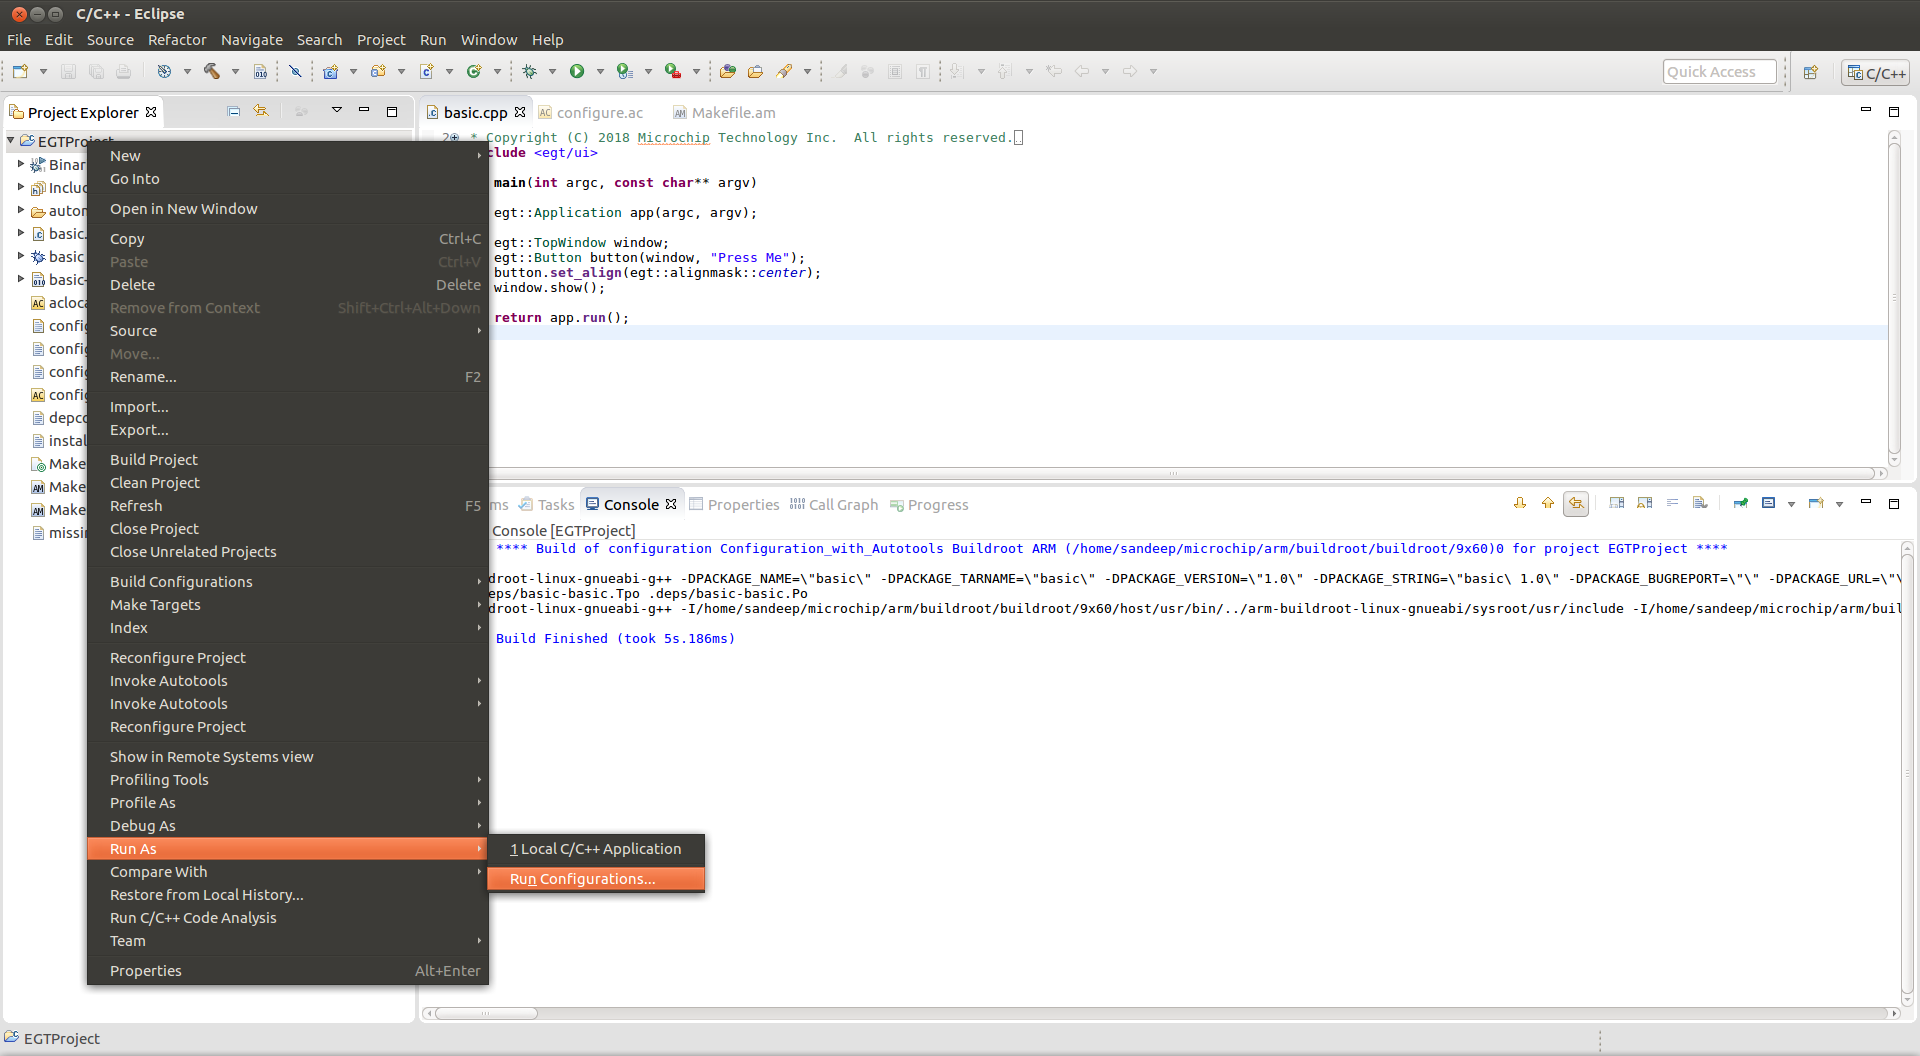
Double click on "C/C++ Remote Application" to create a Run configuration for the target board.
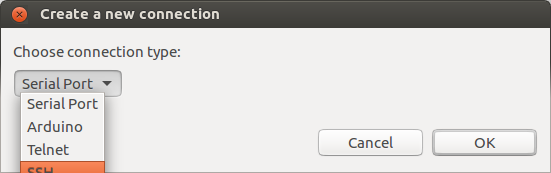
To setup an ssh connection with the target, click “New” under connection and select SSH and click on Okay.
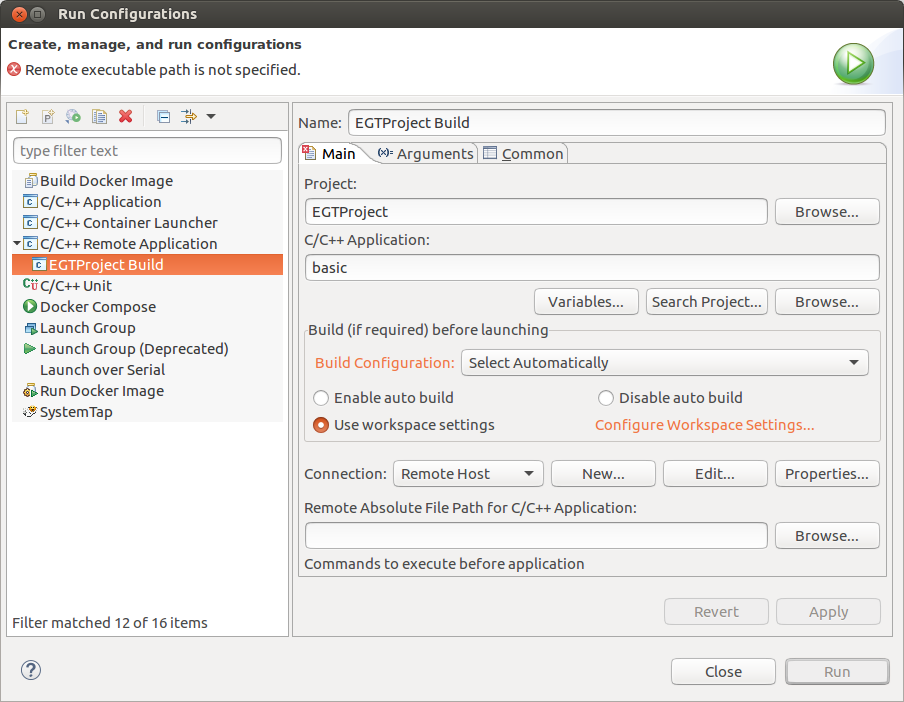
In the New Connection window, set the below details and click Finish.
Set the Remote Absolute File Path to /root/basic and click Run.
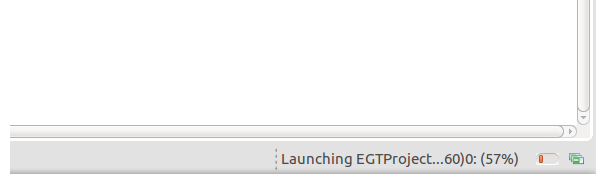
Wait while the application is copied to the target using SSH protocols.
Finally, in the Console, see the traces and EGT application running on the target board.
As a preliminary step, you also need to ensure that gdbserver is present on your target. If gdbserver not present, then enable following options in Buildroot menuconfig:
To get a nice debugging experience, you may want Buildroot to build the libraries with debugging symbols. To do so, enable the Build options -> build packages with debugging symbols option.
Create remote debug configuration
The create remote debug configuration will connect to the target board and it will automatically download the compiled binary, start a gdb-server session and connect to it from within the Eclipse IDE.
Create a remote debug configuration by right clicking on Project and select "Debug As" -> "Debug Configurations…"
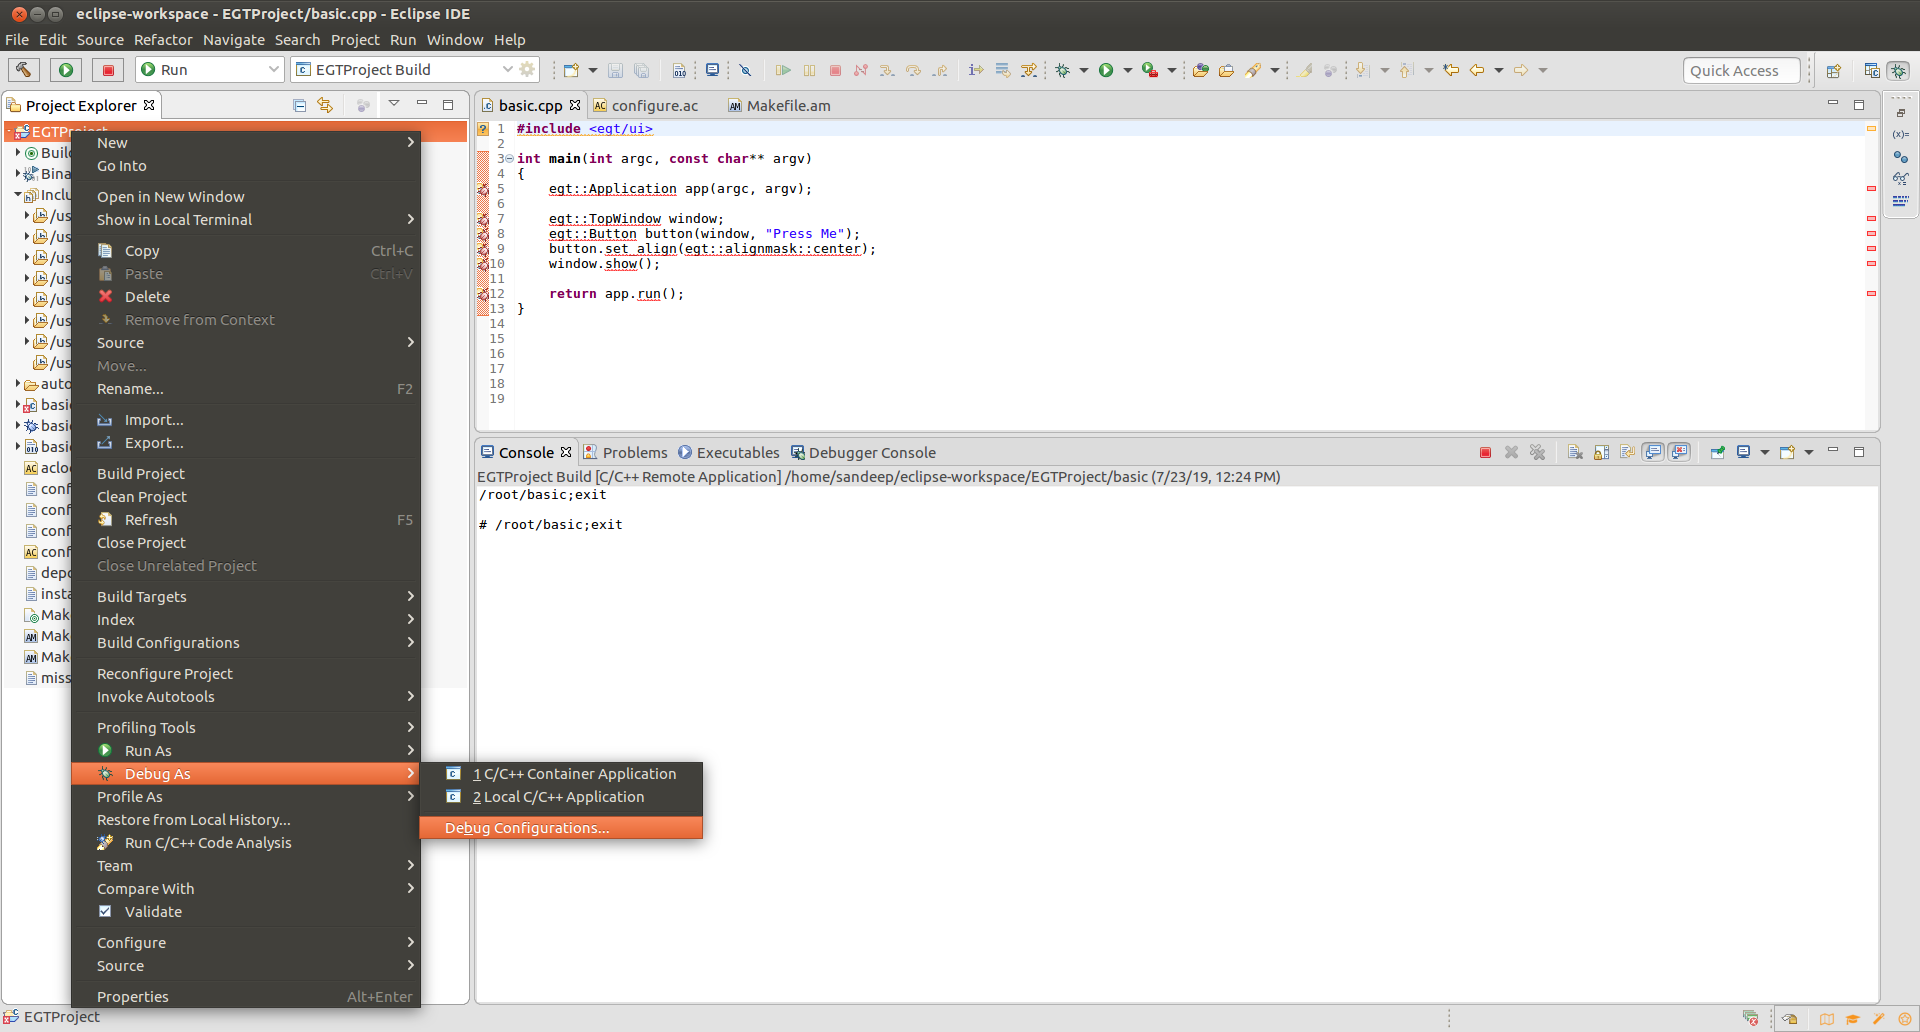
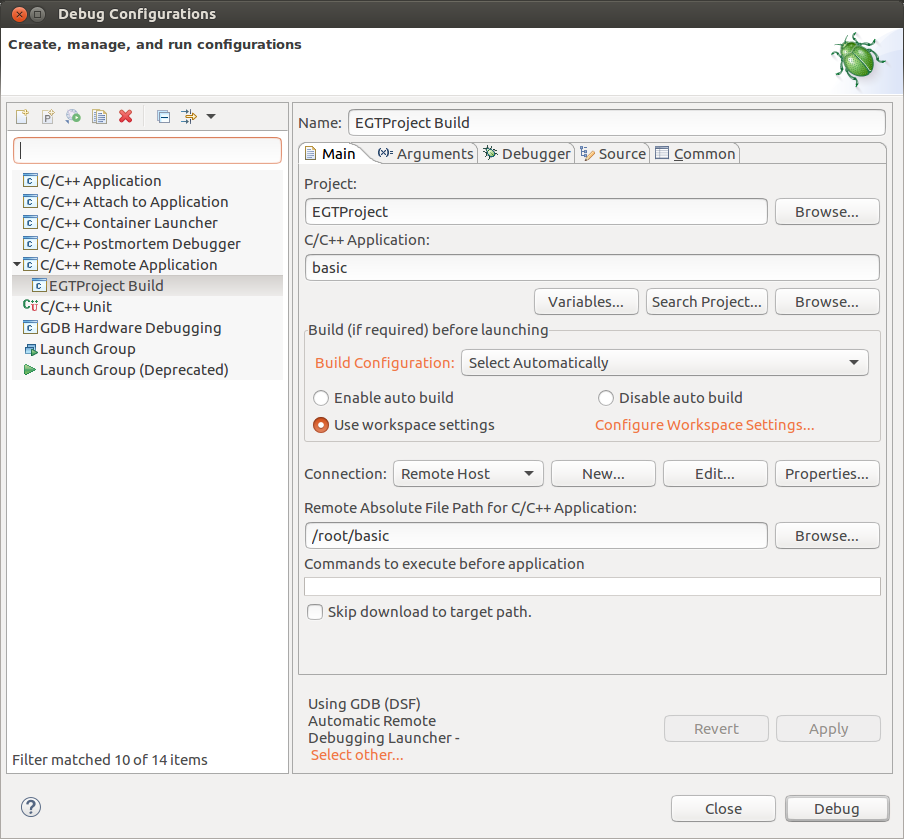
In the Debug Configurations window, double Click "C/C++ Remote Application".
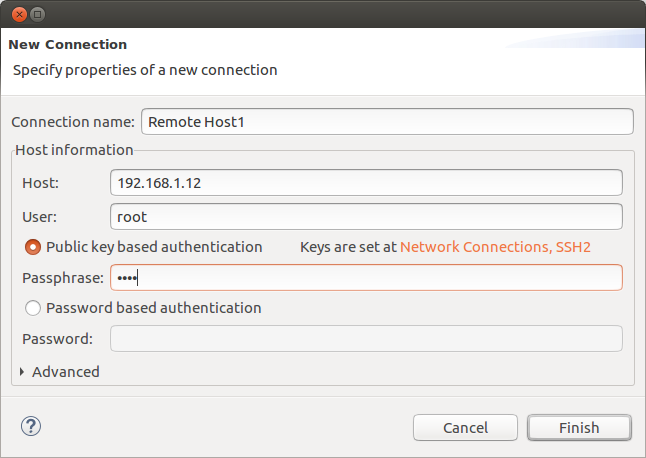
To set up the remote debugging connection, select New under Connection and Choose a connection type of SSH and configure the New Connection as follows:
Set the Remote Absolute File Path to /root/basic.
To configure the gdb connection over ssh, go to the Debugger tab and in it you will see that the GDB debugger: gdb setting currently points to the default debugger on the host system. This is a x86_64 debugger and it does not understand the symbols and messages from the gdb-server on the target. You must change this to point to the ARM-specific gdb that is created by Buildroot. Change it to:
<buildroot>/output/host/bin/arm-buildroot-linux-gnueabi-gdb
To prevent some spurious SIGNALS and to help the GDB debugger, we have provided an initialization script. Create a gdbinit file in your project folder and copy the below line and set the gdbinit file path to the GDB command file:
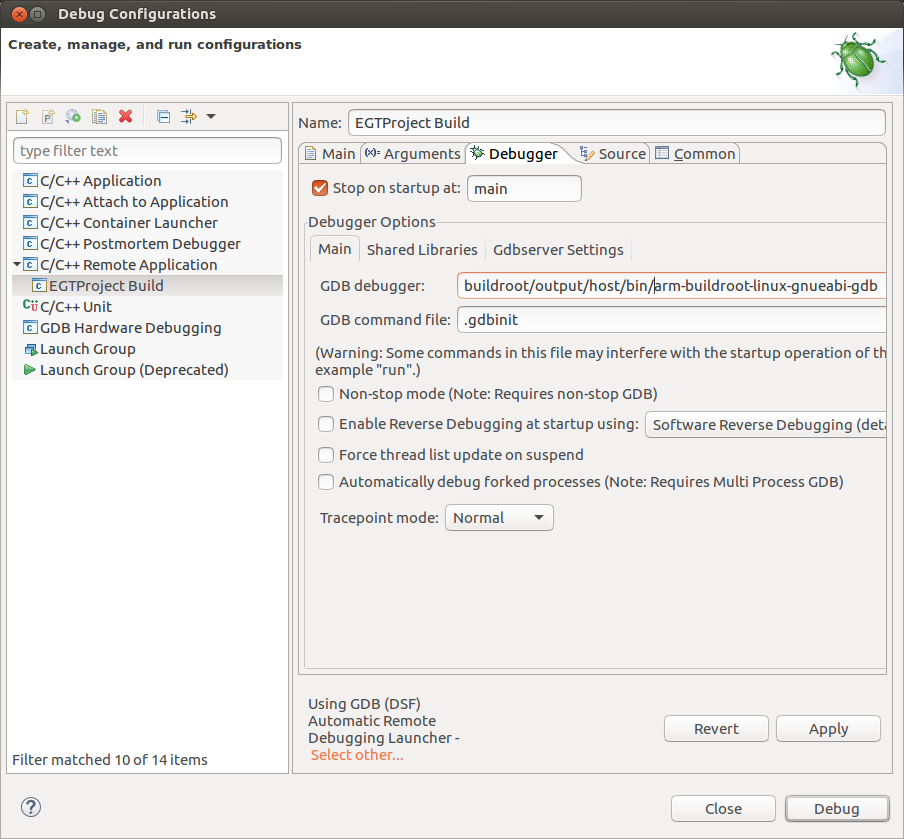
click on the Apply and Debug button.
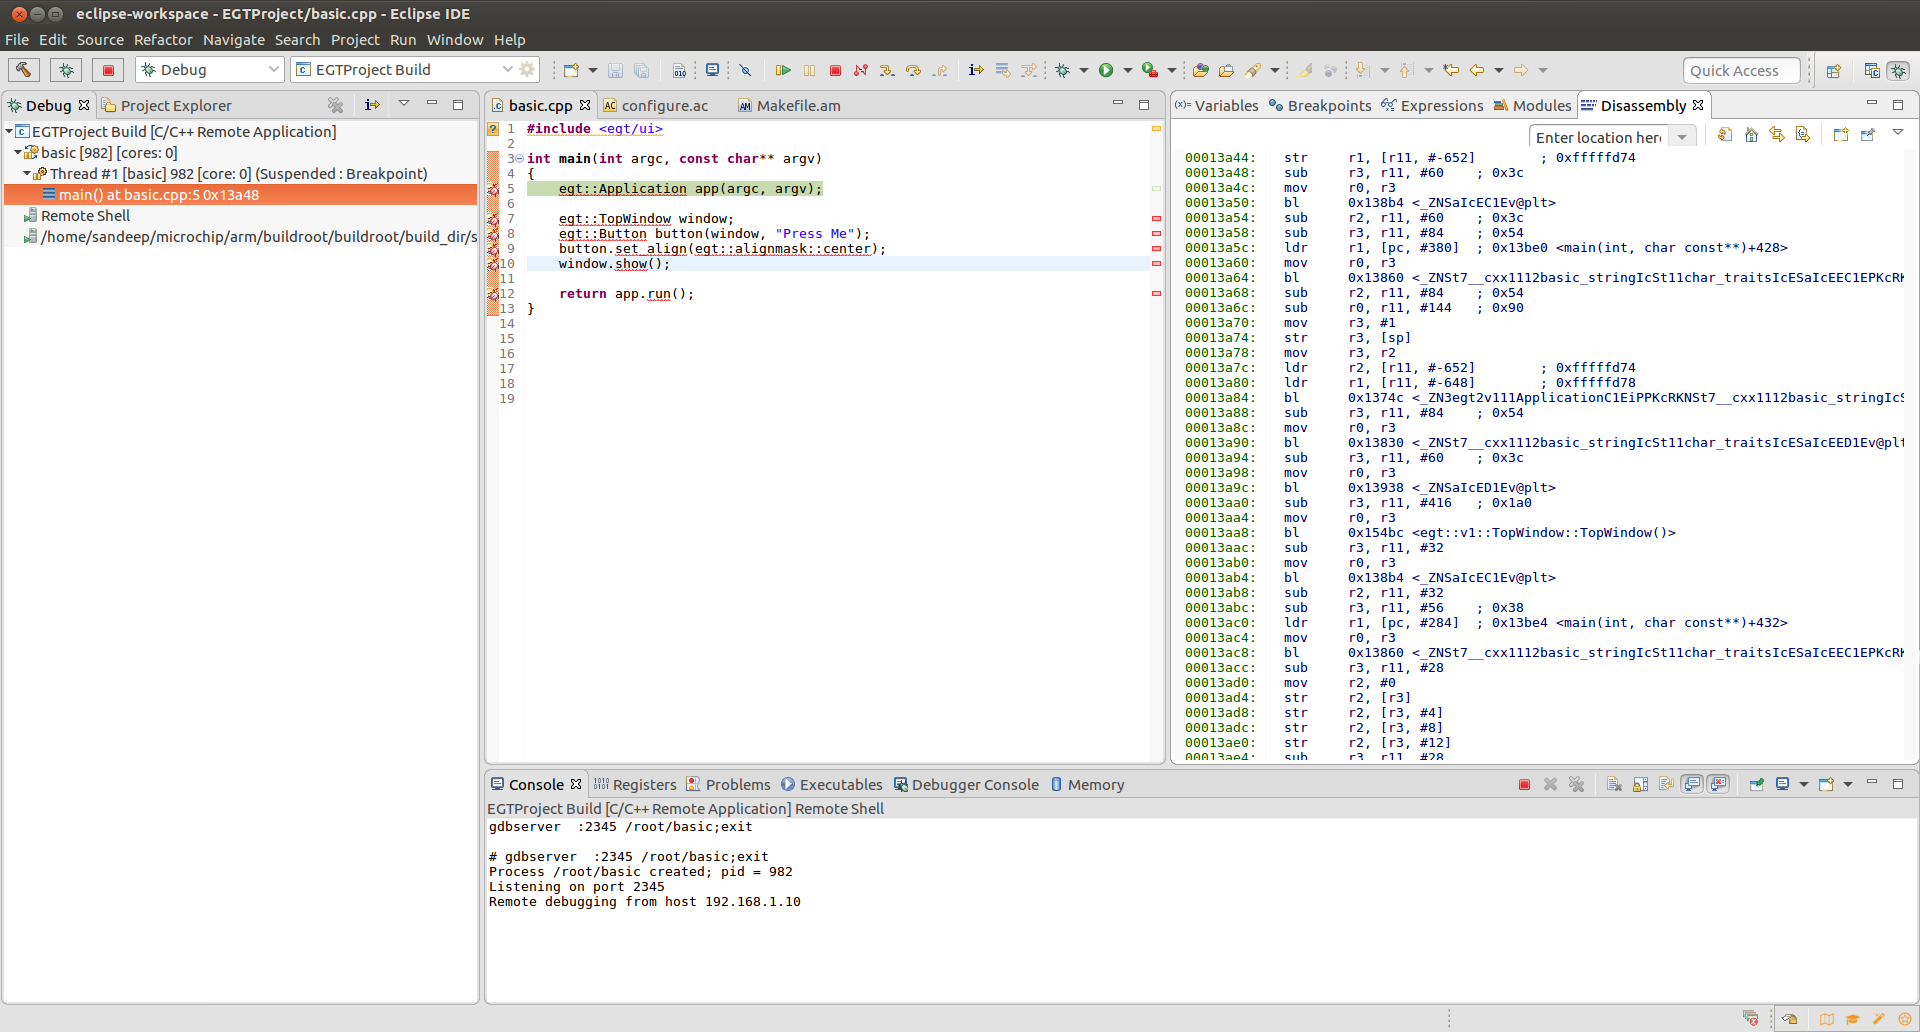
Now in Eclipse you should be able to select the new Debug Configuration. If a pop up appears, click on Yes in the confirm perspective switch window. If you get an authentication Message dialog box, select Yes to accept it or else Eclipse will change to the debug perspective and the application will halt at main(). Press Resume (F8) to continue execution and the application should continue to run on the target. You can view variables and disassembly code.
Enjoying the enhanced debug experience.
This sections describes how to build a standalone EGT library and its examples on the host machine in Eclipse using Autotools. To fetch the Source from the Git repository, refer to section Fetching Source.
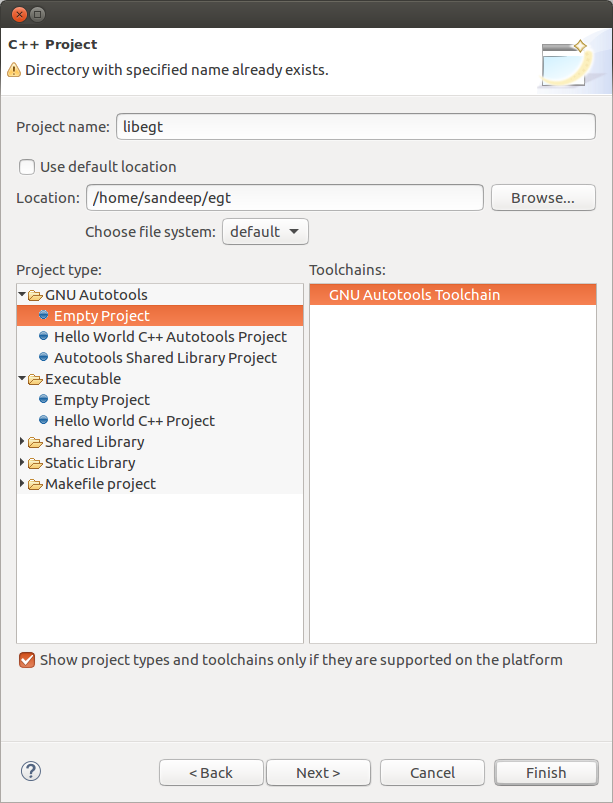
Create a new CPP Project using File-> New -> Project. In the New Project window, expand C/C++ and select C/C++ Project, then click Next.
In the New C/C++ Project window, select C++ Managed Builds and click Next.
In C++ Project window,
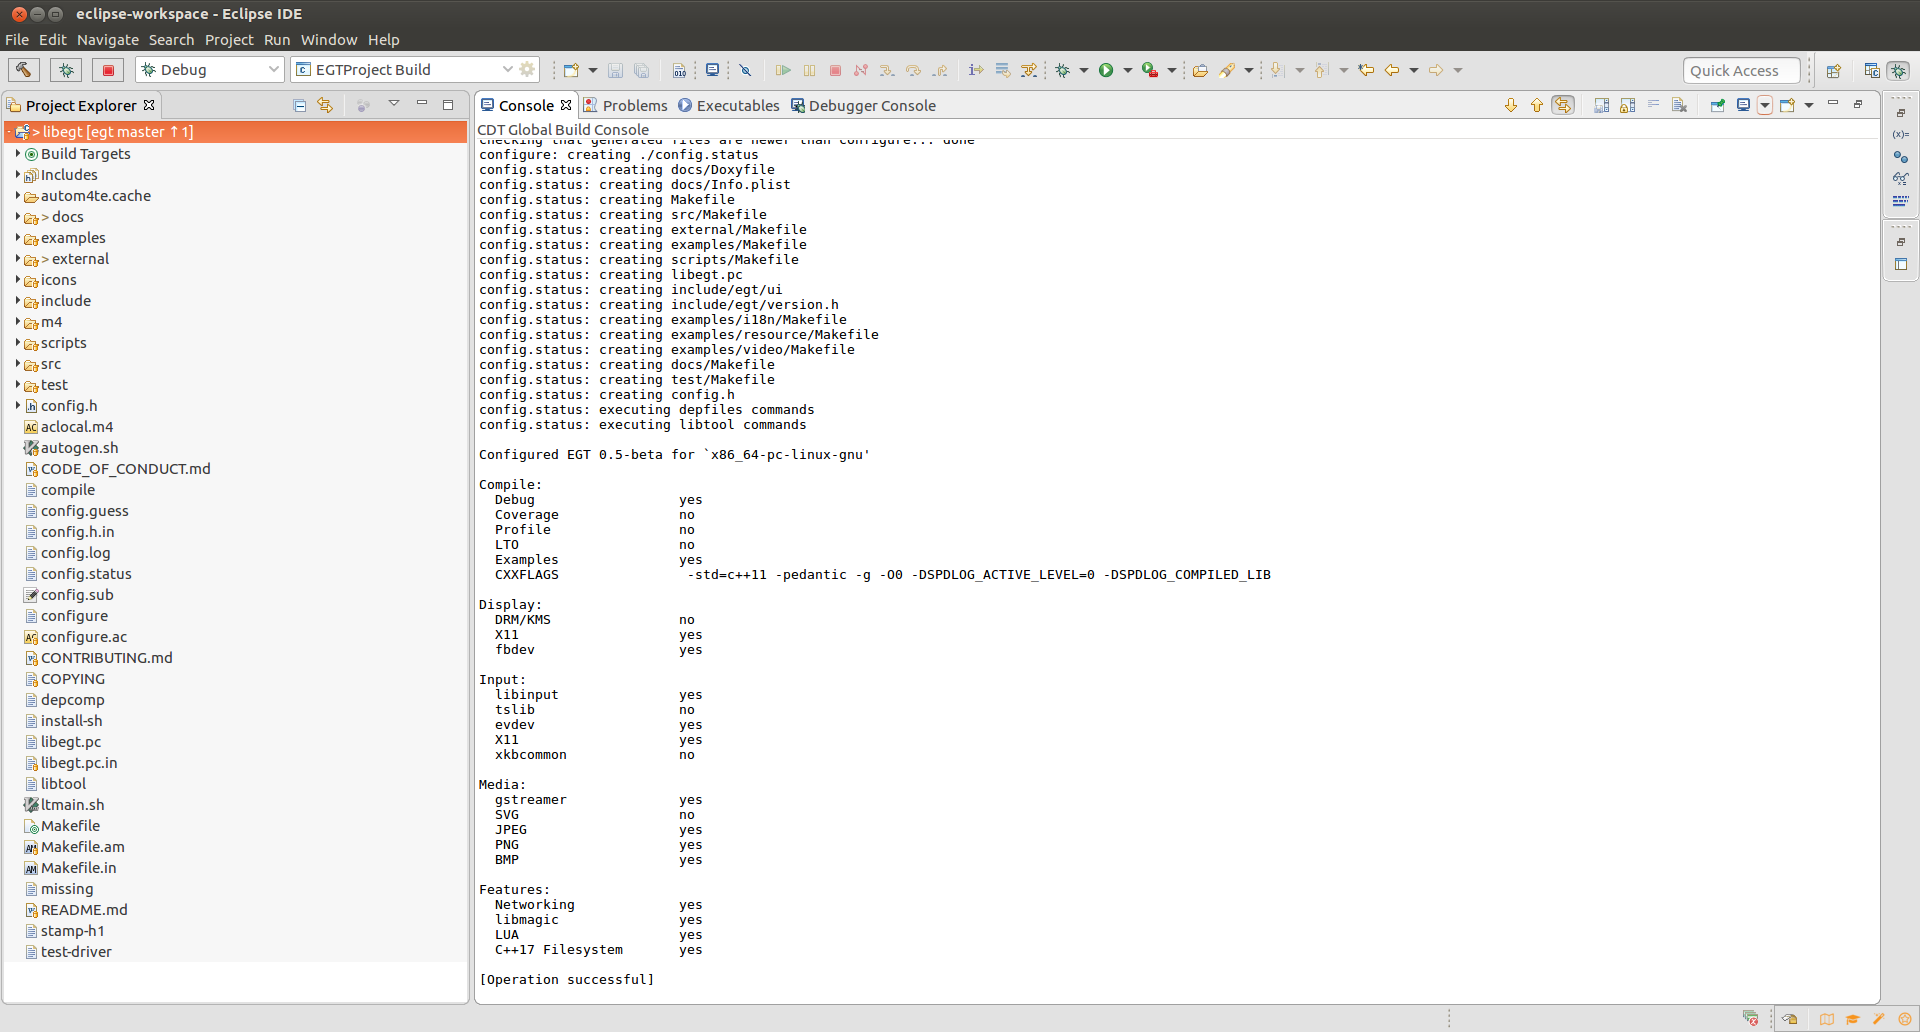
Now we can see in the console Tab:
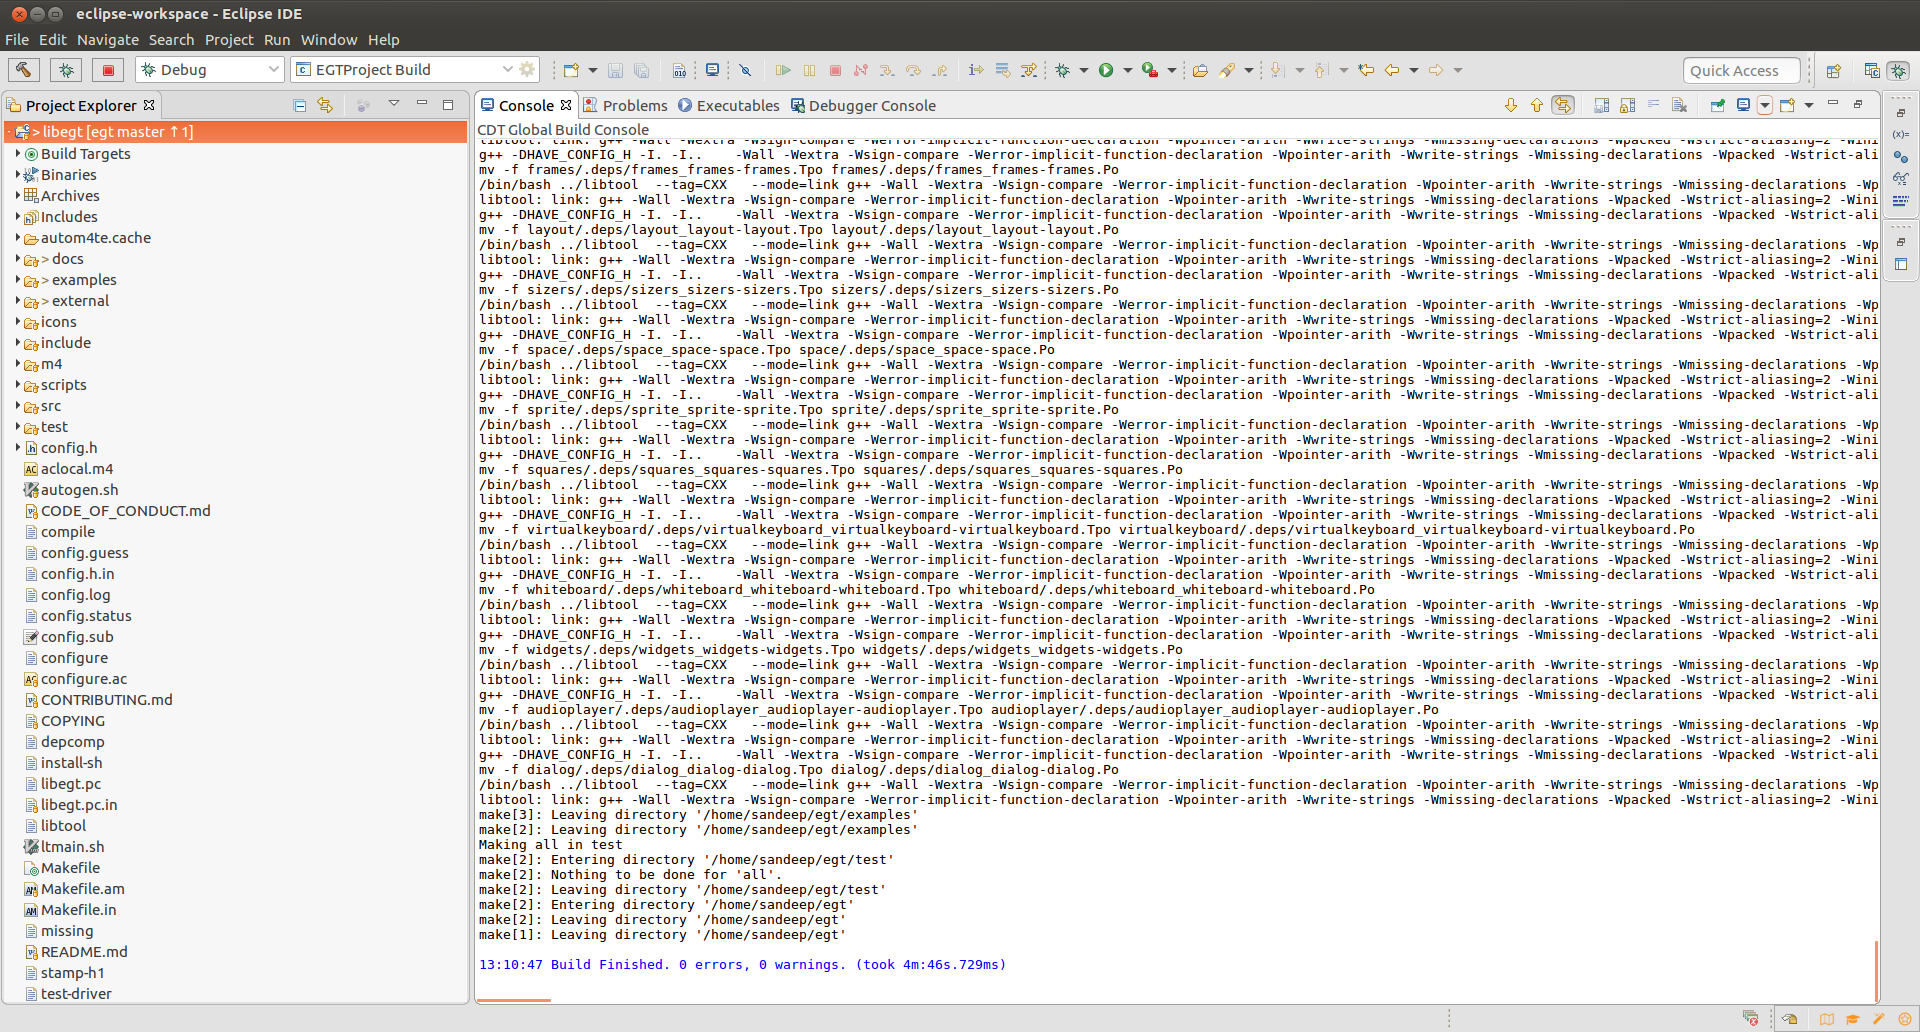
To build the libegt project, press (Ctrl-b) or select the Project->"build all" option and observe build messages in Console.
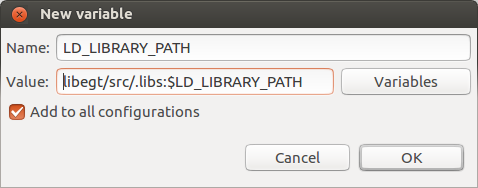
Before we start to execute/debug an application, we need to set the environment variable LD_LIBRARY_PATH to point to the libegt.so folder (i.e. src/.libs/).
Go to Project properties by right clicking the project and selecting Properties or Press (Alt + Enter). In the Project properties window, Expand "C/C++ Build" and Select "Environment" and then click ADD.
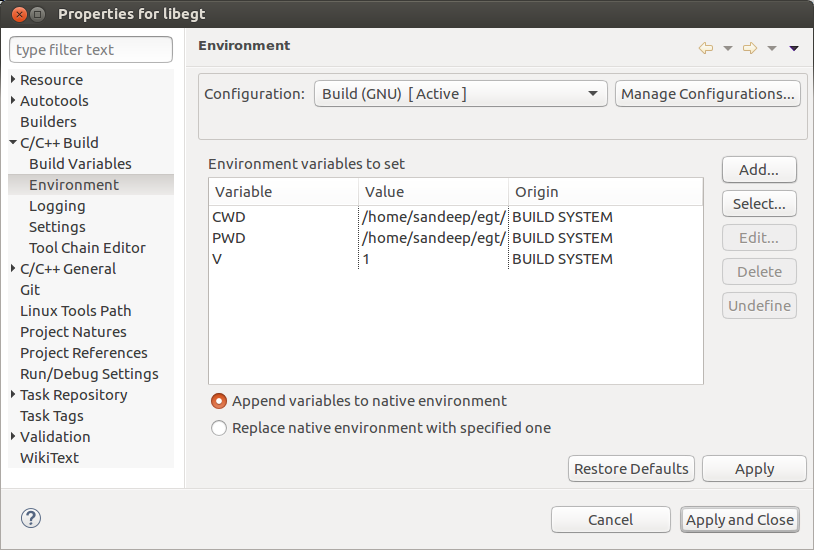
In a New Environment variable window, set the below details and click OK and the OK again to close the Project properties window.
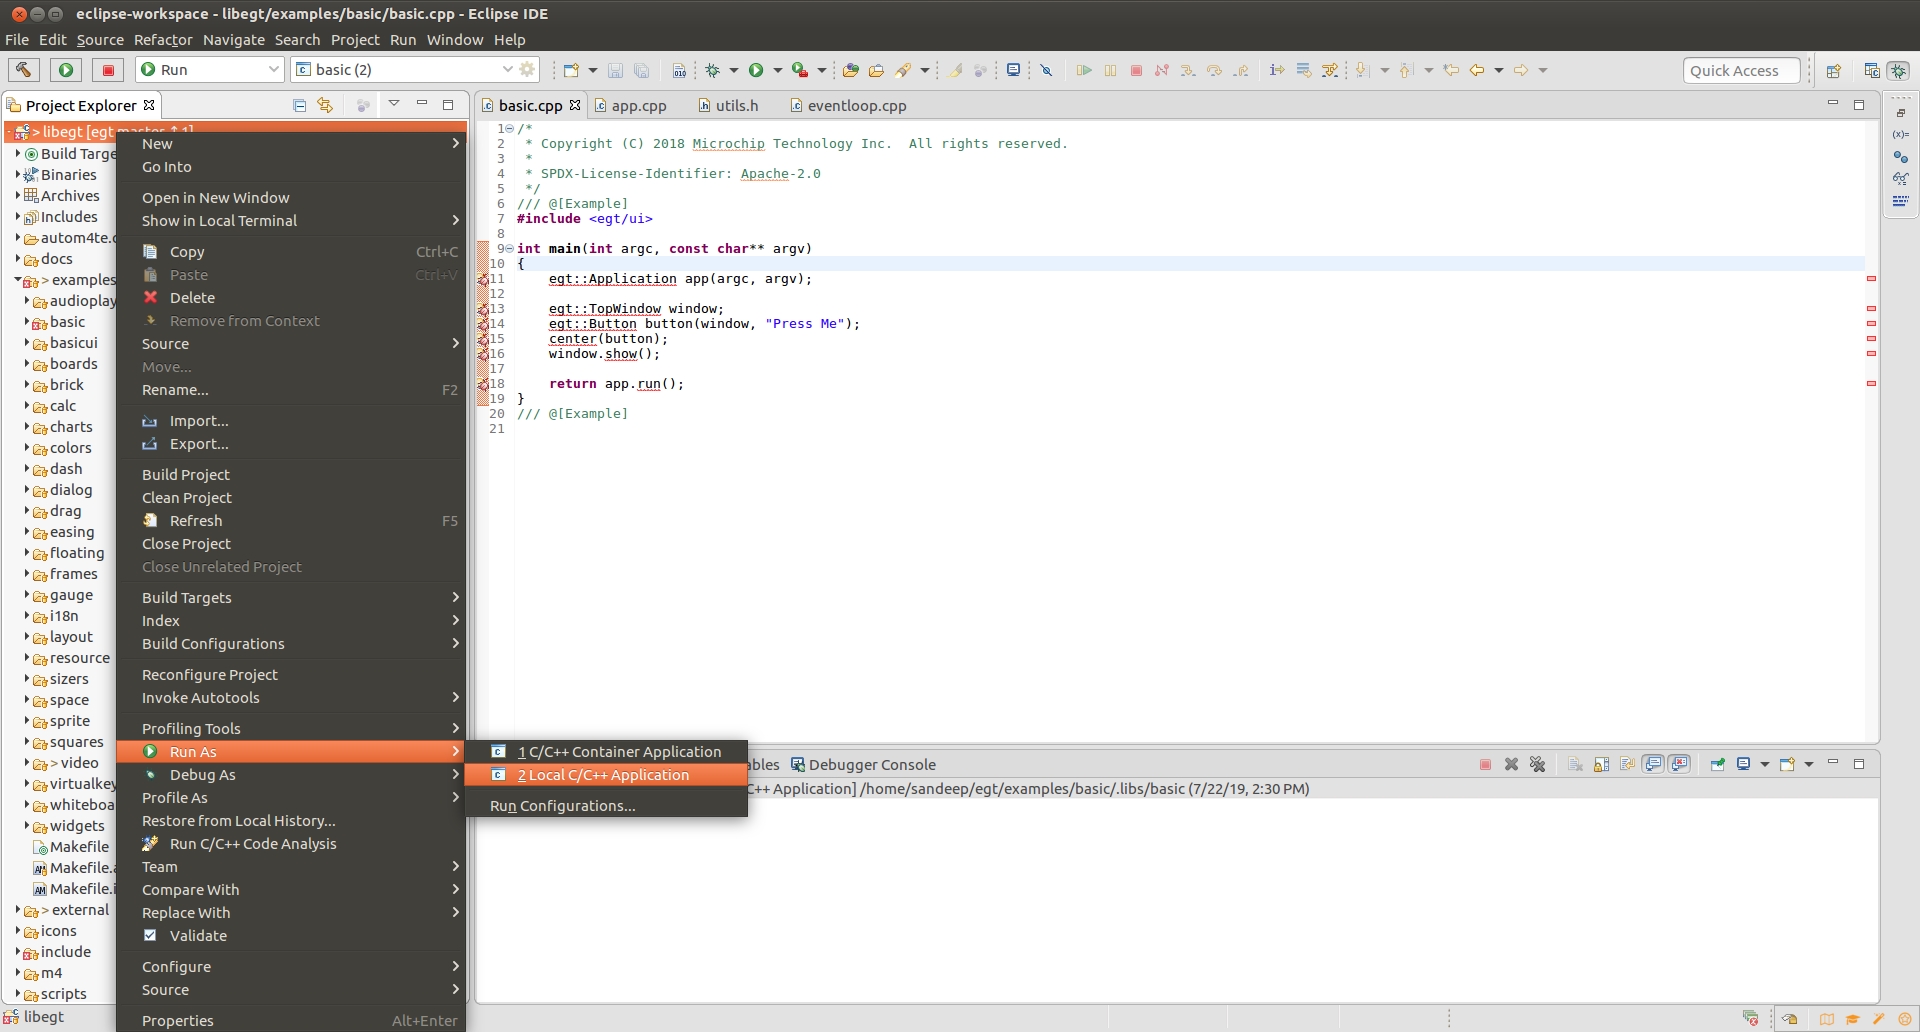
We can start executing the EGT example application by right clicking on the libegt Project and selecting Run As -> "2.Local C/C++ Application".
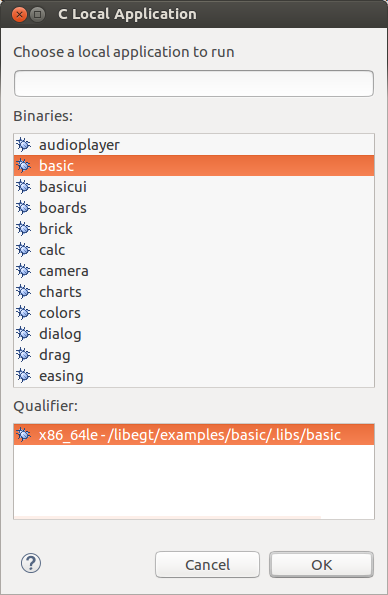
In the "C Local Application" window, select basic under Binaries and click OK.
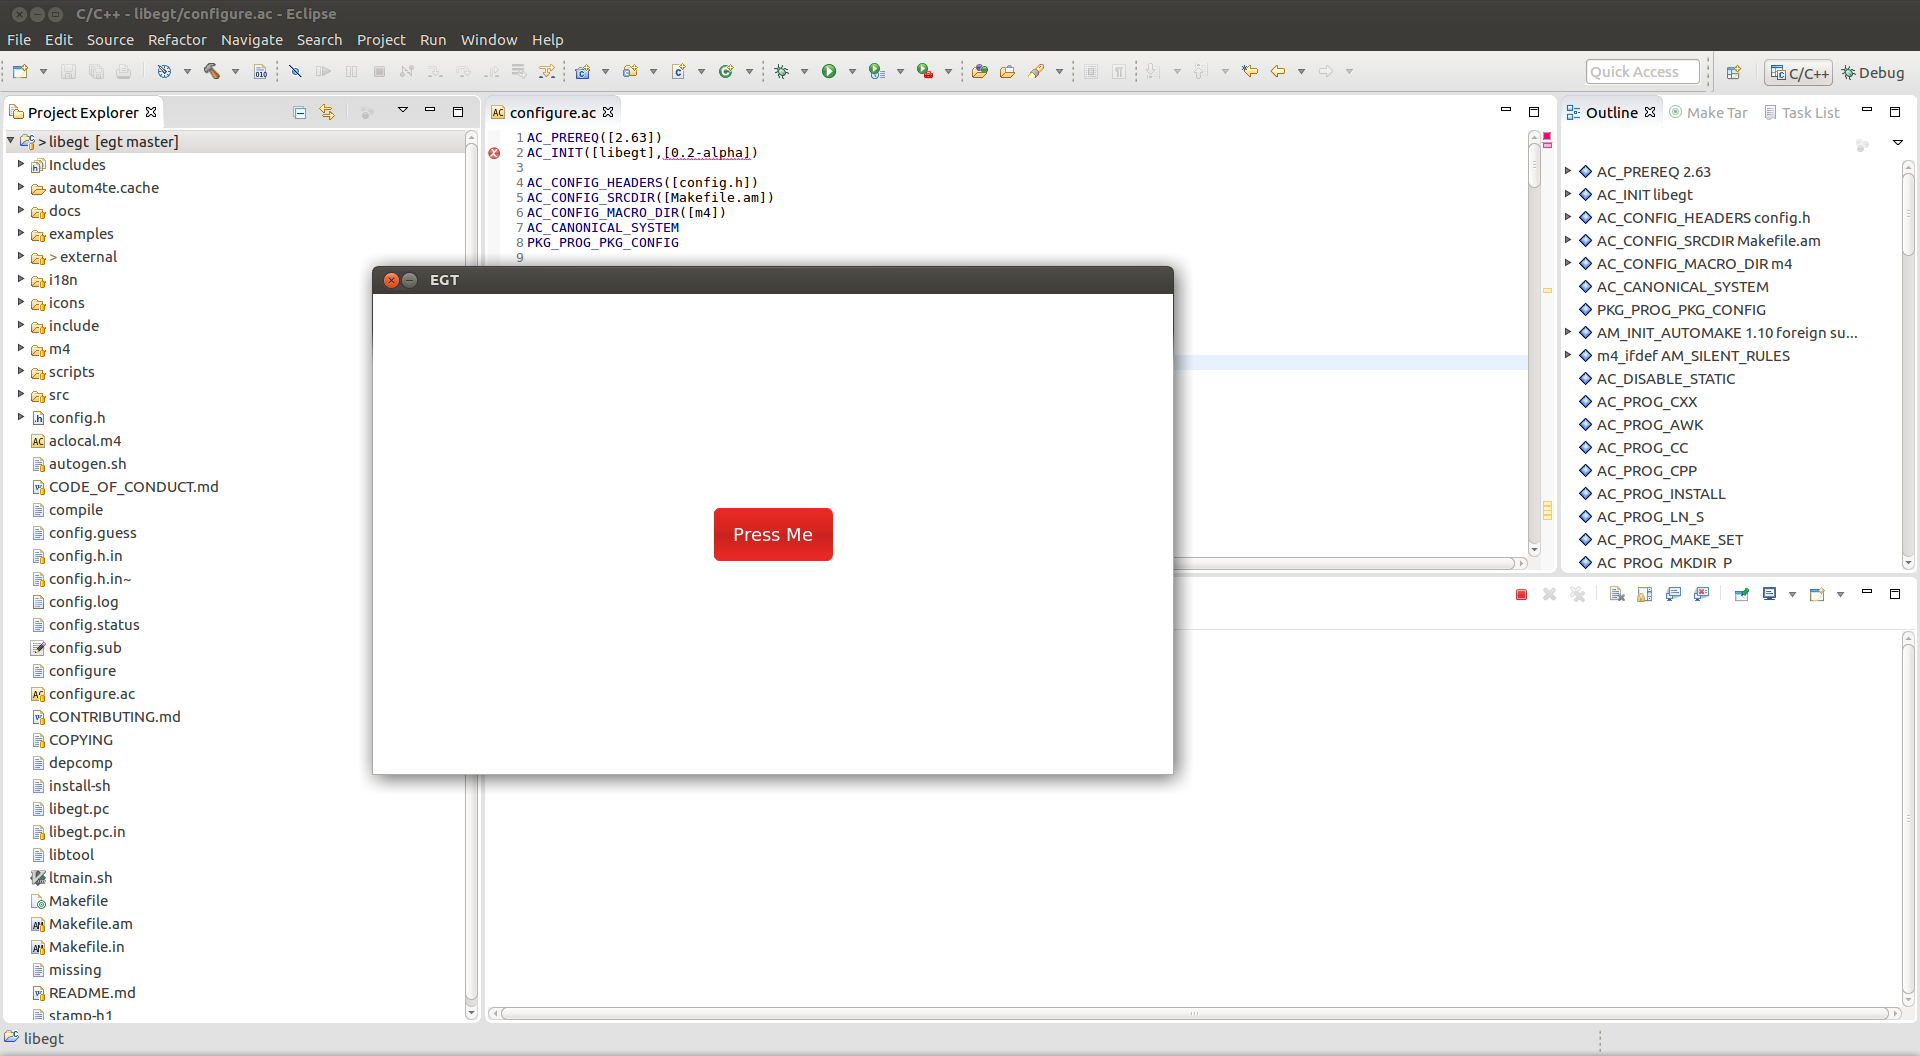
A new EGT window will pop up running the EGT Basic example application.
To debug EGT example applications, right click on the libegt project and select "Debug As" -> "2.Local C/C++ Application".
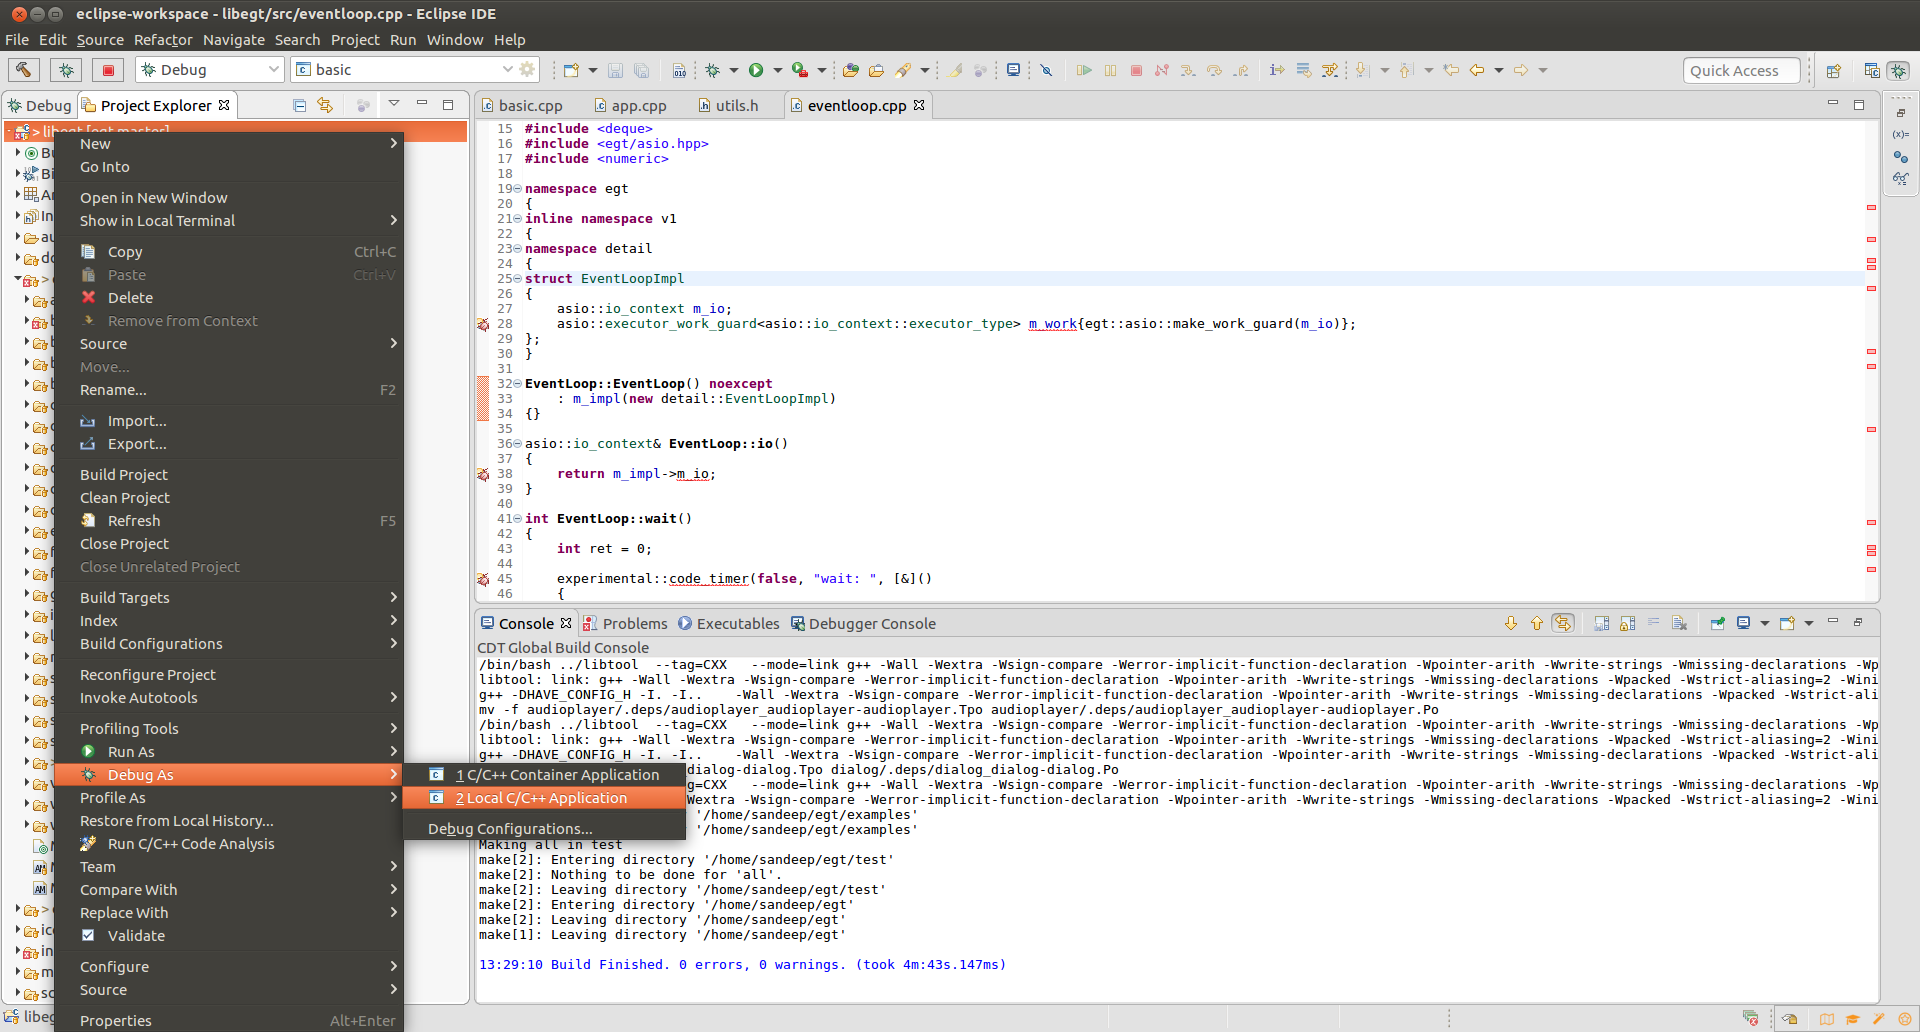
In the "C Local Application" window, select basic under Binaries and click OK.
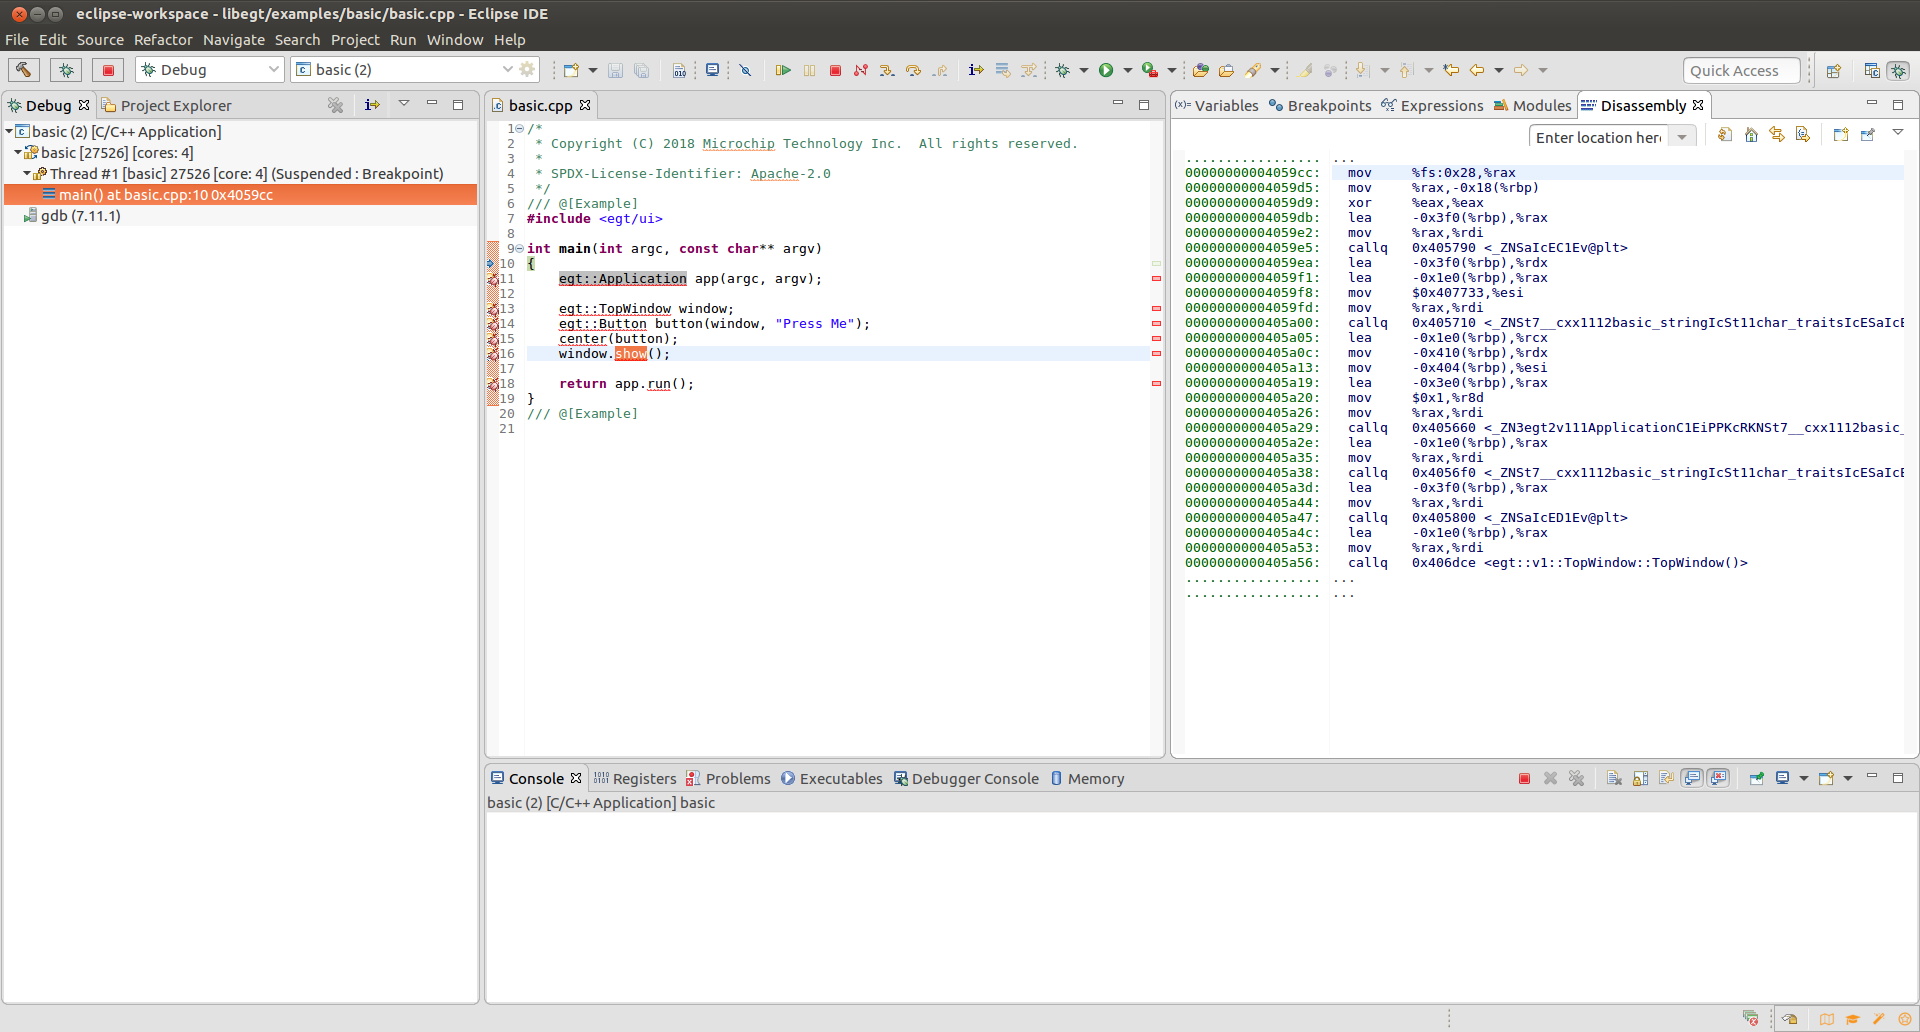
Eclipse will automatically switch to the Debug perspective window and the debugger stops on the main function of the application and you can see disassembly code. Press Resume (F8) to continue execution and the application should continue to run on the Host Machine.
© Copyright 2020 Microchip Technology Inc. All rights reserved.